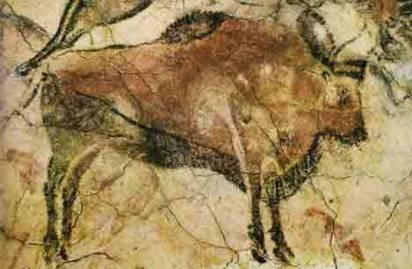
Prehistoric Art
|
|
|
|
Clay Pinch Pot Project
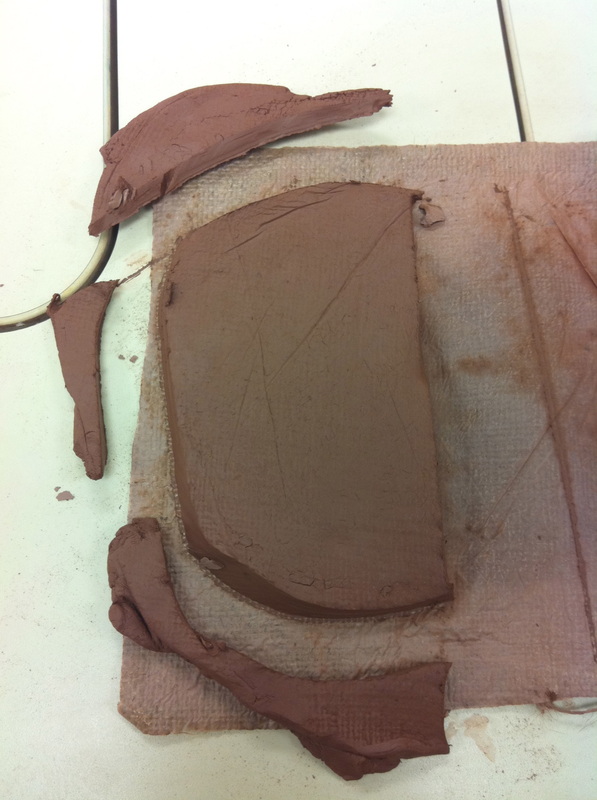
First roll clay into a slab about the thickness of a pizza crust. Make sure you roll the clay on a cloth and not directly on the table.
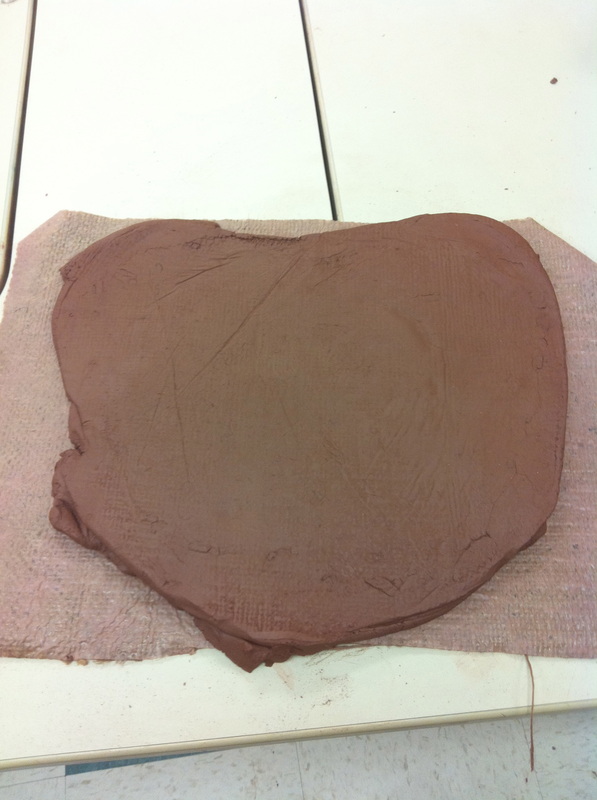
Then cut the clay in half.
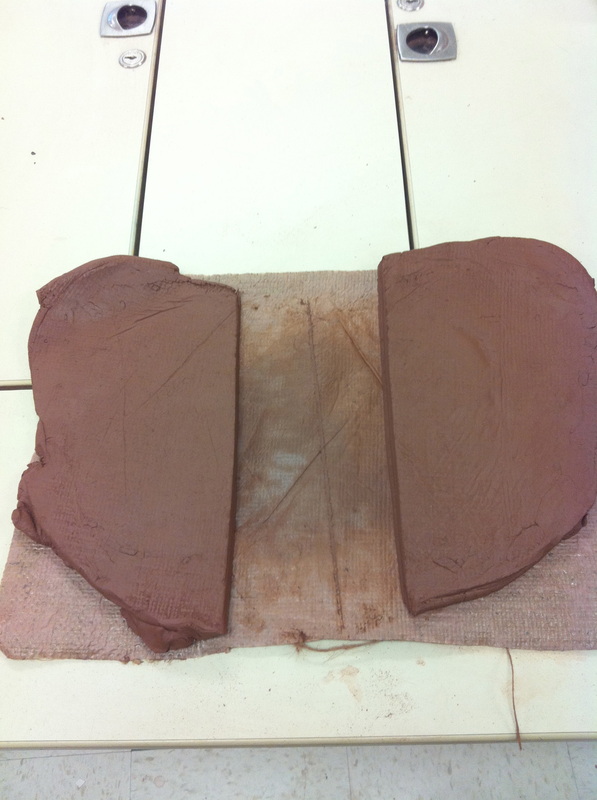
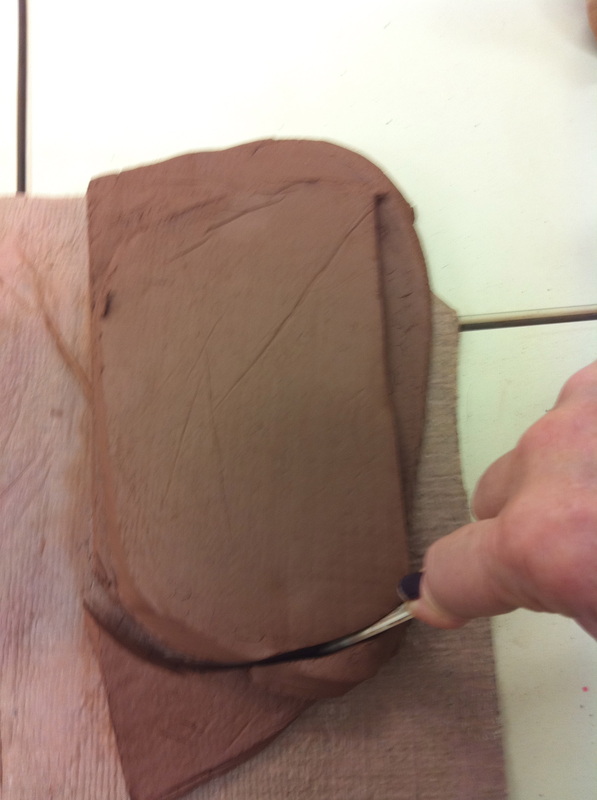
Now trim the edges.

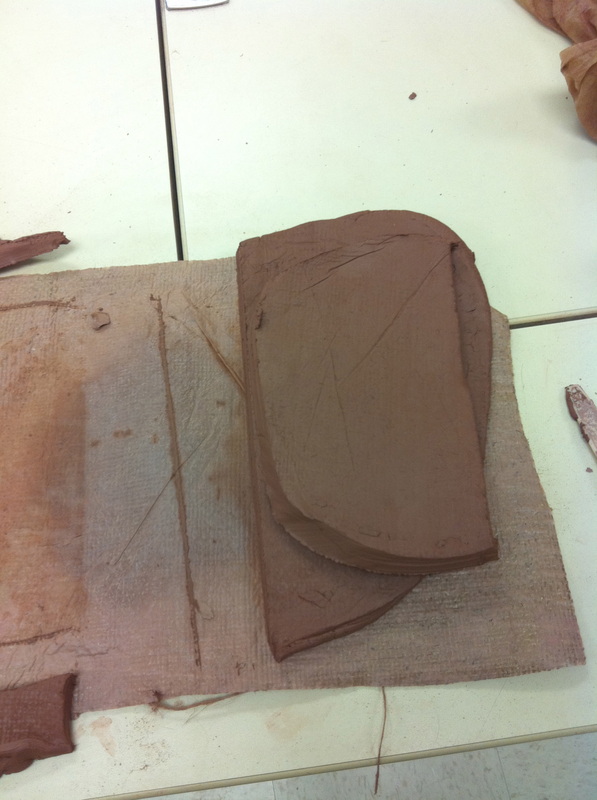
Place the clay on top of the other slab and trim the edges again. Both slabs should be the same size.
|
|
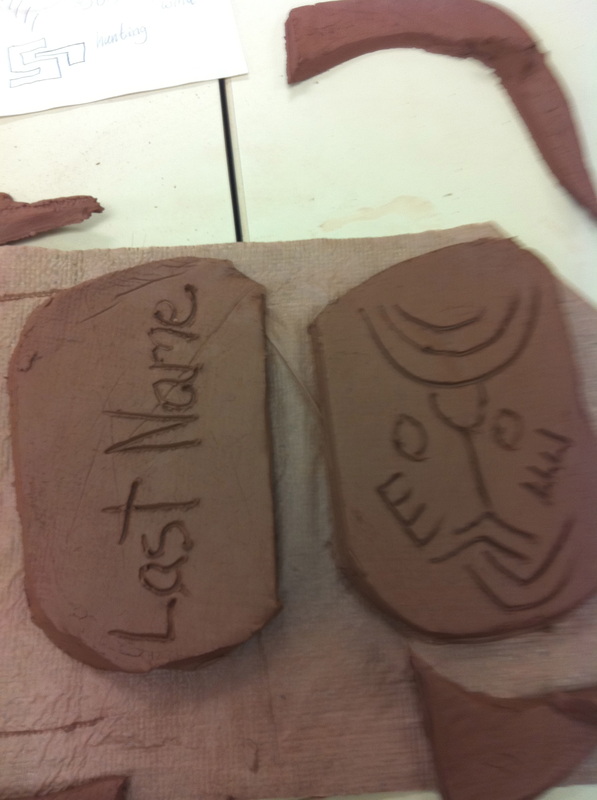
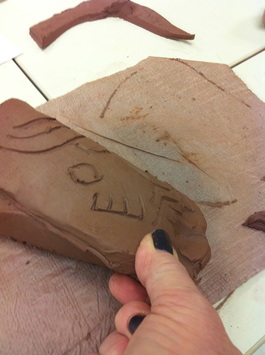
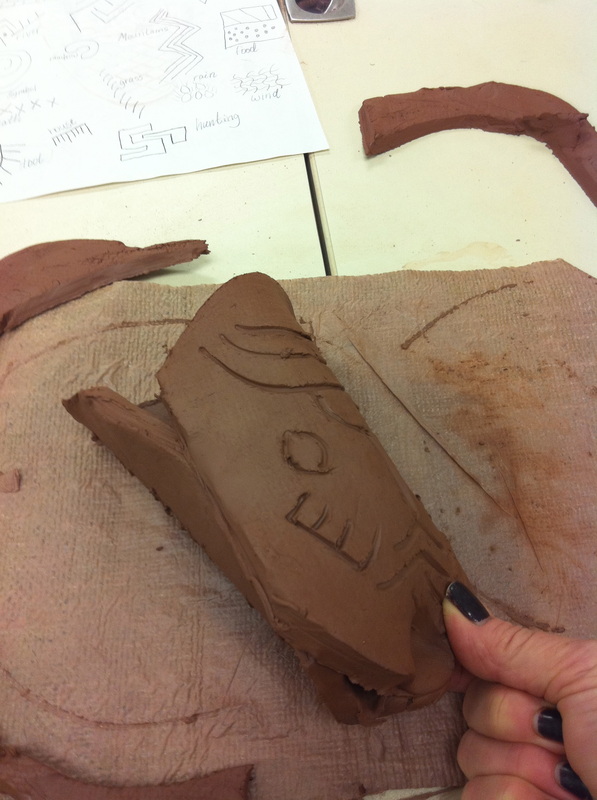
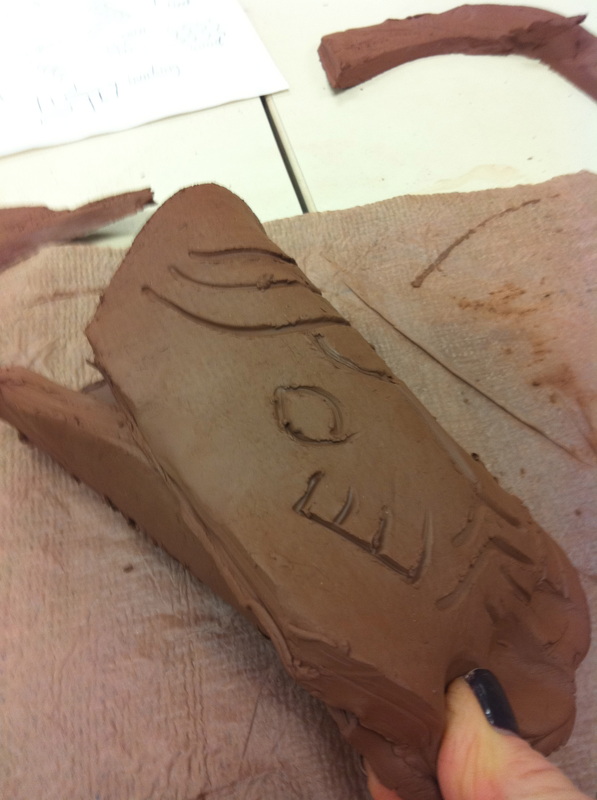
Carve designs on the side of one slab and your name on the other.

Turn the clay slabs over and curve them inward.
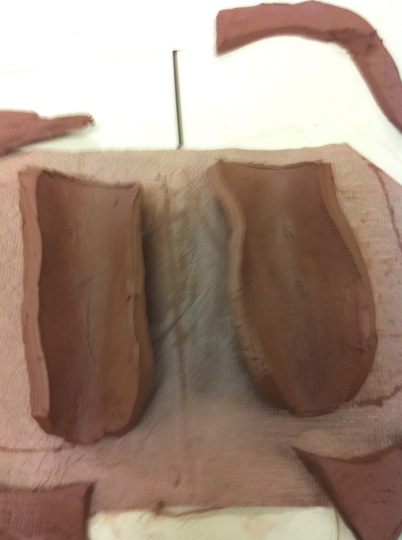
Put the two slabs together and start pinching the bottom and sides with your index finger and thumb.
|
|
When finished the project will be baked in a kiln and then glazed or decorated.
Ceramics
State Standards:
27.B.3 Know and describe how artists and their works shape culture and increase understanding of societies, past and present.
26.A. Describe how the choices of tools/technologies and processes are used to create specific effects in the arts.
Time:2- 40 minute class periods
Objectives:
4. Students will make a sketch for their pottery design.
5. Students will make a pinch pot.
6. Students will use chalk pastels to add color, sea shells, feathers, and rope will also be added.
State Standards:
27.B.3 Know and describe how artists and their works shape culture and increase understanding of societies, past and present.
26.A. Describe how the choices of tools/technologies and processes are used to create specific effects in the arts.
Time:2- 40 minute class periods
Objectives:
- Students will learn that pottery has given bits of information to increase understanding of societies, past and present.
- Students will learn techniques for making a ceramic pinch pot.
- Students will make a ceramic pinch pot
- Students learn a variety of ceramic vocabulary terms.
- Show video of prehistoric cave art.
- Students will learn about prehistoric art.
4. Students will make a sketch for their pottery design.
5. Students will make a pinch pot.
6. Students will use chalk pastels to add color, sea shells, feathers, and rope will also be added.