Texture
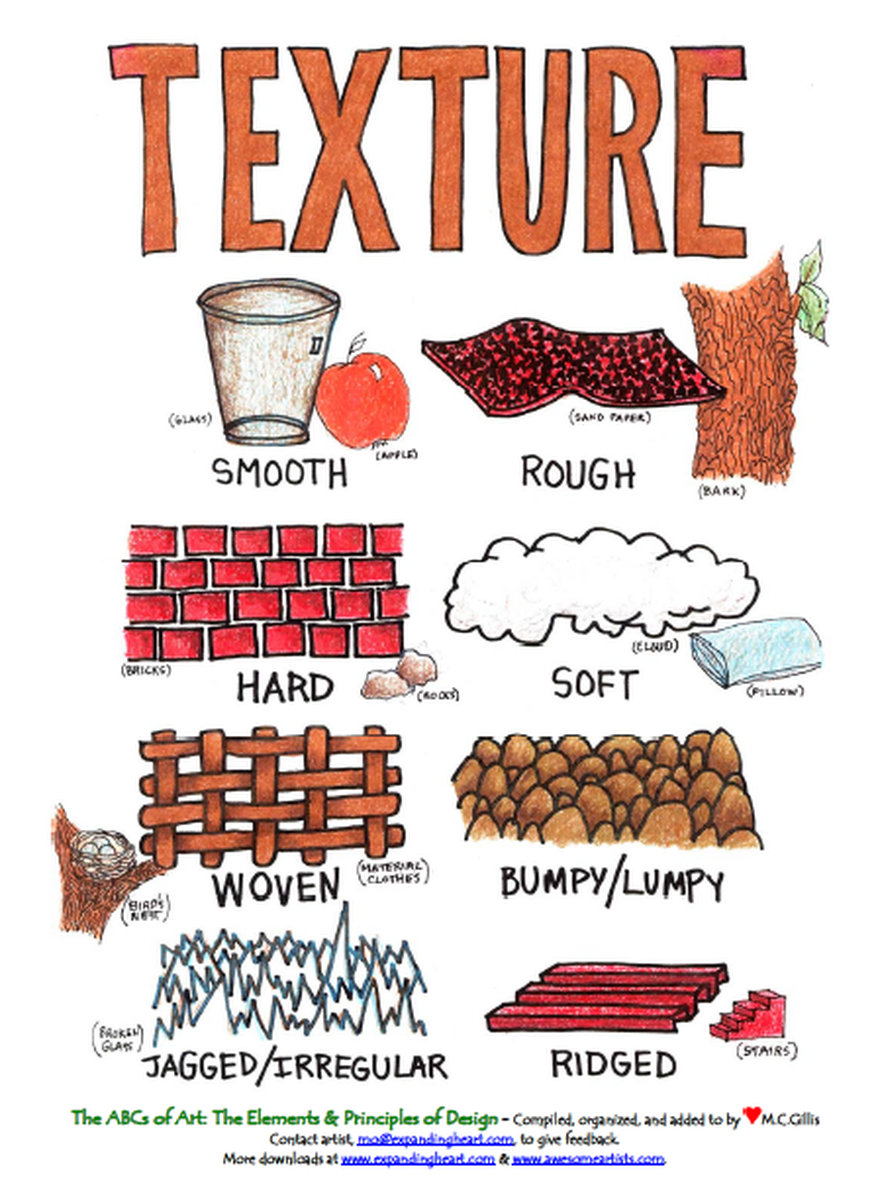
I. Design Element – Texture
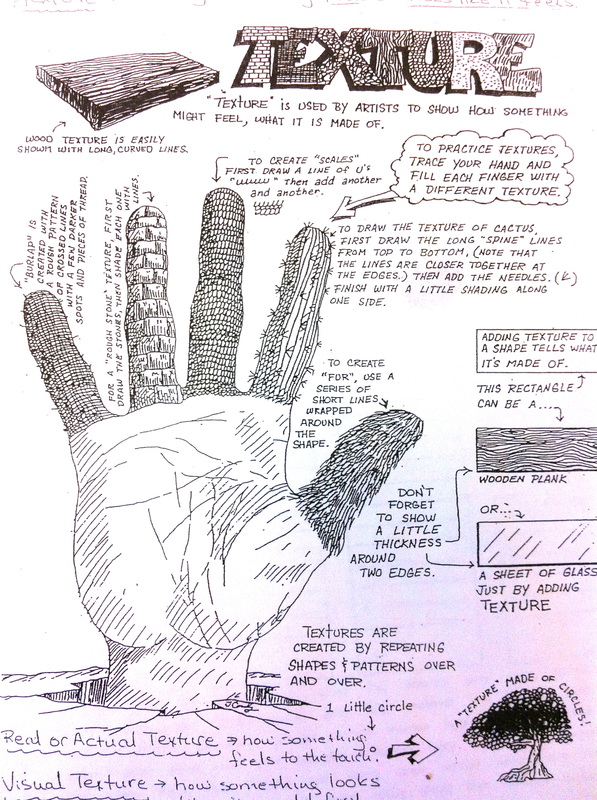
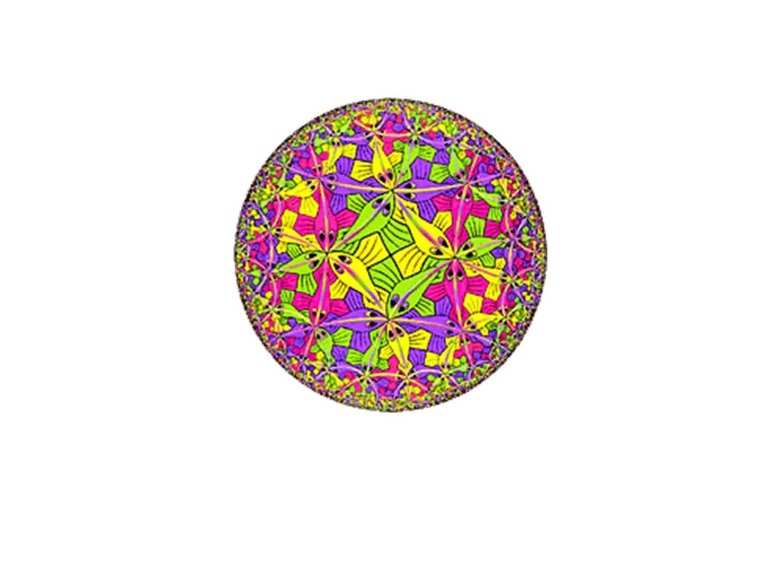
Describe lesson…. Show video clip of MC Escher’s famous hand drawing
http://www.youtube.com/watch?v=nC1vn-IRFQ8 3:52 minutes
State Standards:
25.A.3e Visual Arts: Analyze how the elements and principles can be organized to convey
meaning through a variety of media and technology.
Time: 3 - 40 minute class periods
Materials: penciland colored pencils
Objectives:
Students will learn how to make simulated texture drawings. Students will learn that texture
is an important design element and can create realism in their artwork.
Students will learn that the negative space in their picture can be used for background areas.
Students will learn to use colored pencils effectively in their artwork.
Procedure:
1. Show video of MC Escher 3:52 minutes. Talk about video “Student led discussions”.
2. Distribute handout “Texture”, discuss, and have students glue in their design books.
3. On the next blank page of their book have students draw their own hand, follow directions
and place hand in an environment for the background.
4. This project will take three class periods.
5. Demonstrate some colored pencil techniques like hatching and crosshatching. Students
should use colored pencils after their initial drawing is done.
Check out this website for interactive design elements and principles...
http://www.artsconnected.org/toolkit/index.html

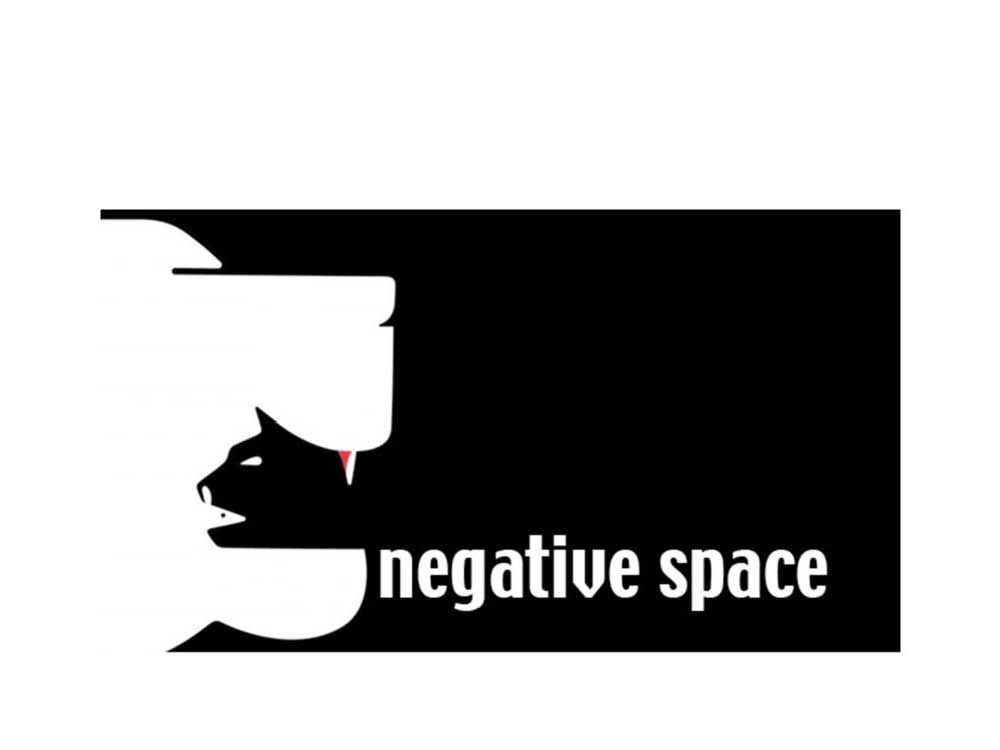
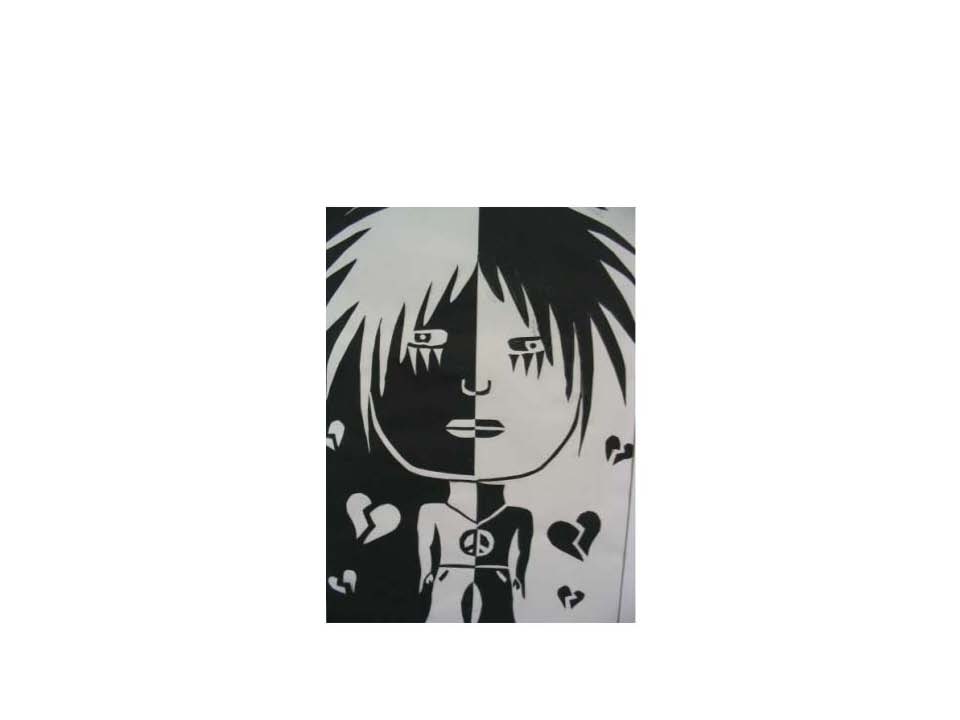
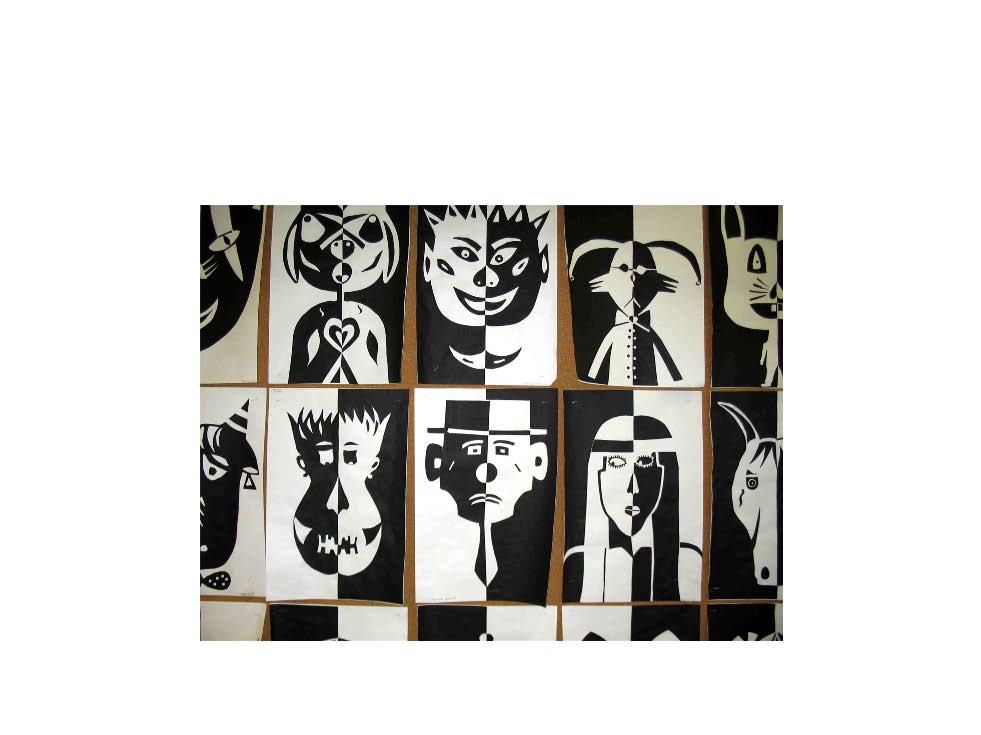
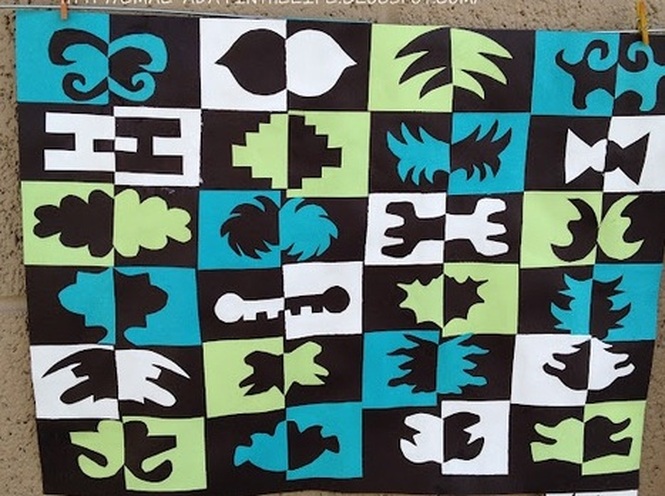
Space
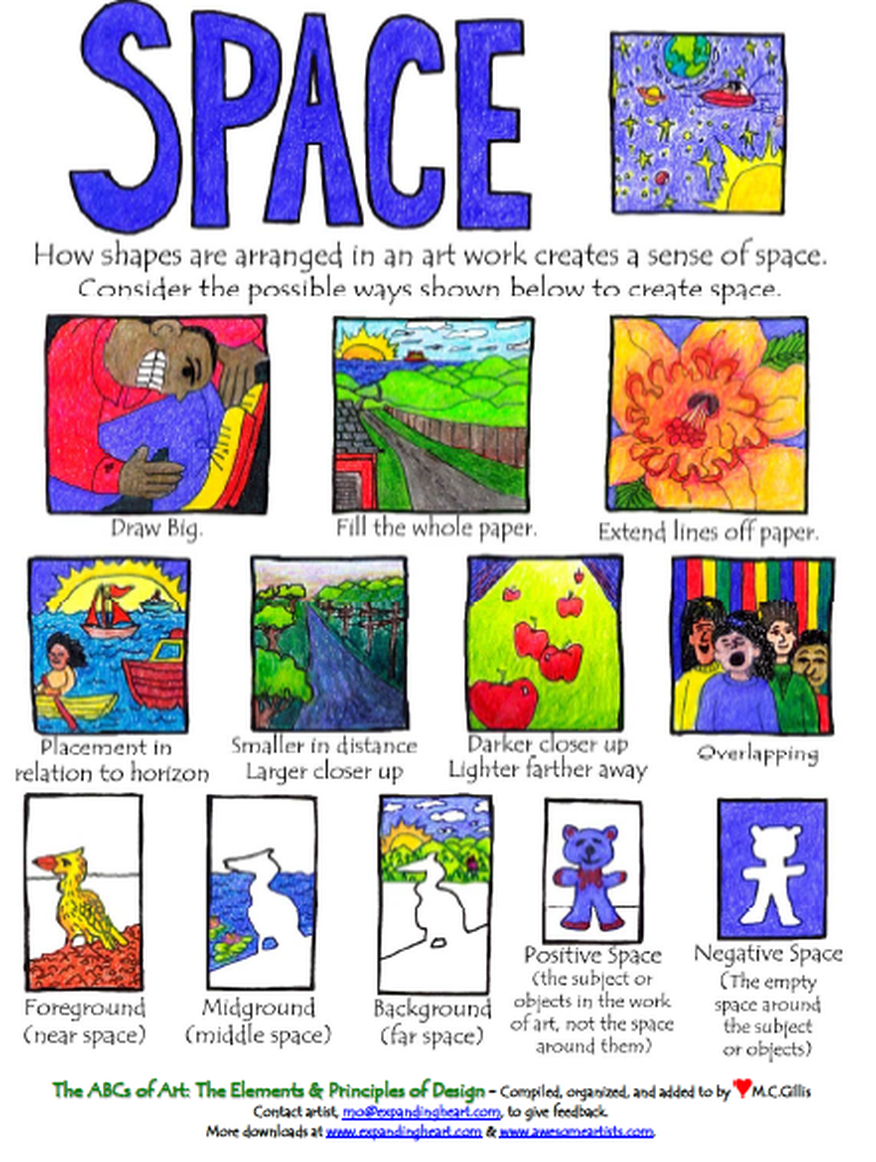
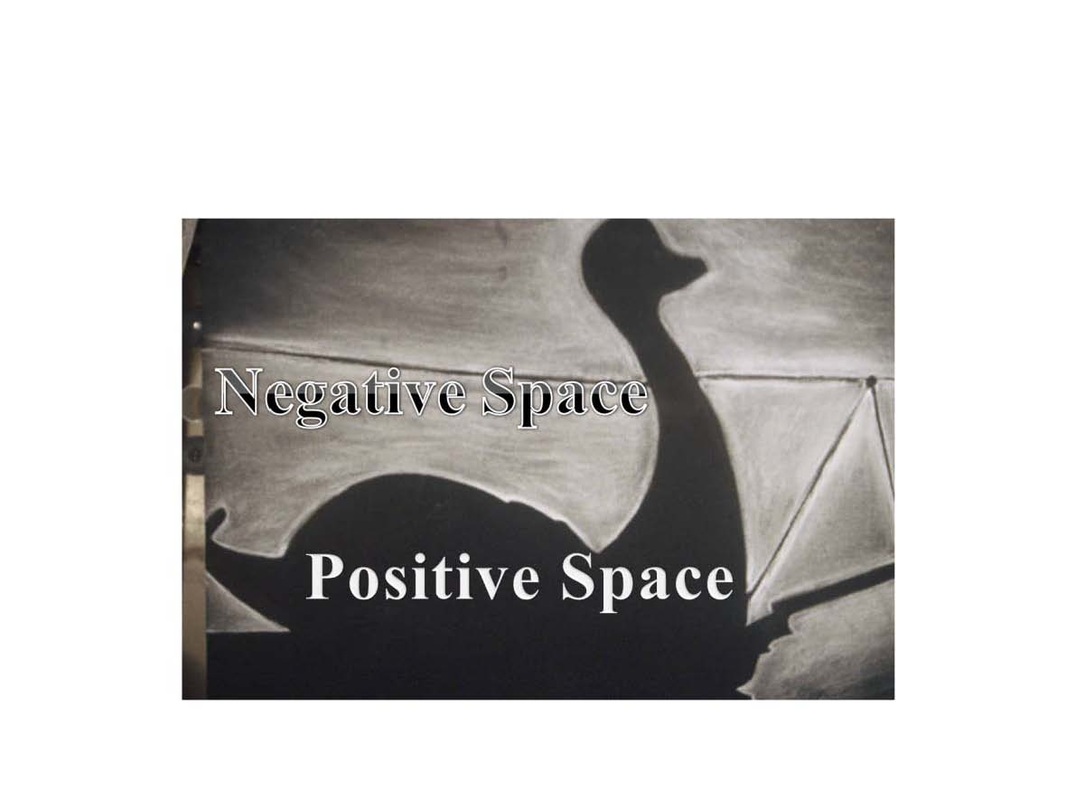
II. Design Element – Positive and Negative Space
State Standards:
26.A.3eVisual Arts: Describe how the choices of tools/technologies
and processes are used to create specific effects in the arts.
Time: 2- 40 minute class periods
Materials: glue or glue sticks/black and white construction paper
Objectives:
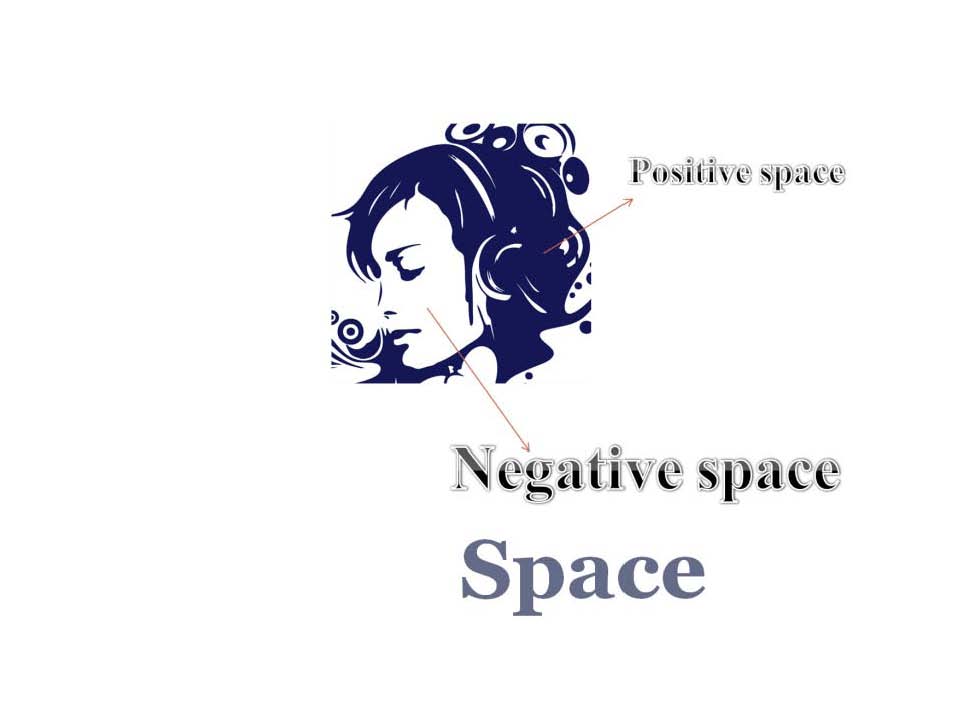
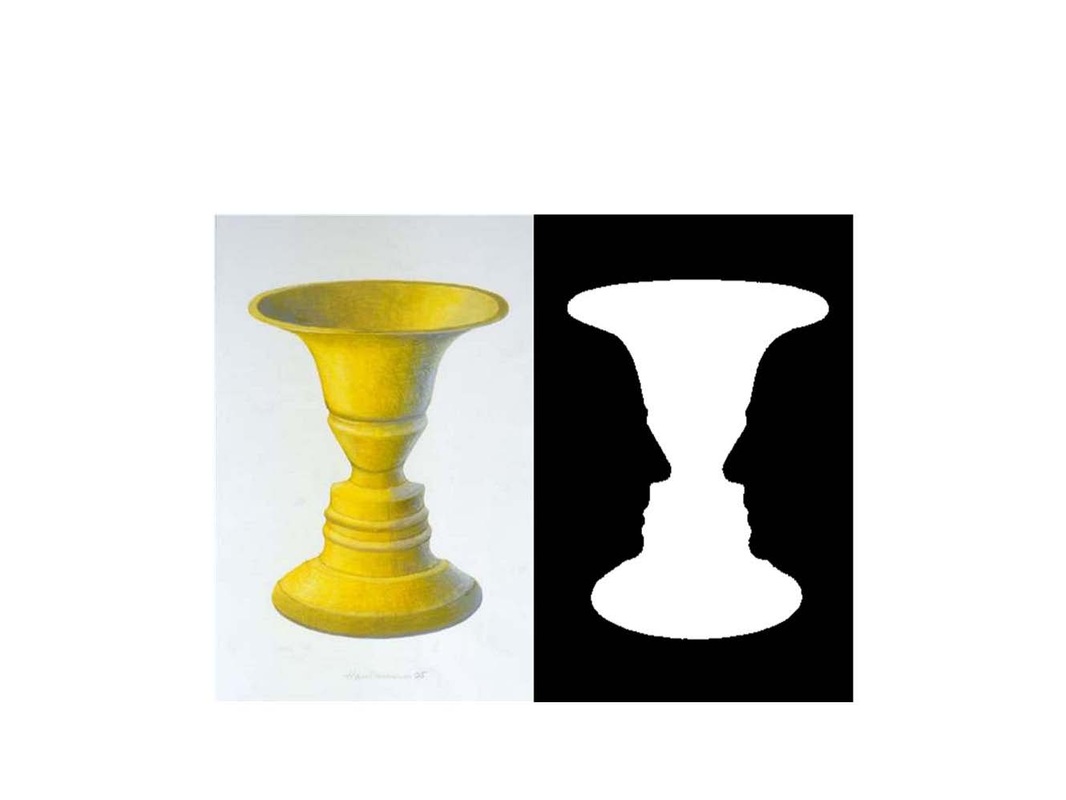
Students will learn the distinction between positive and negative space.
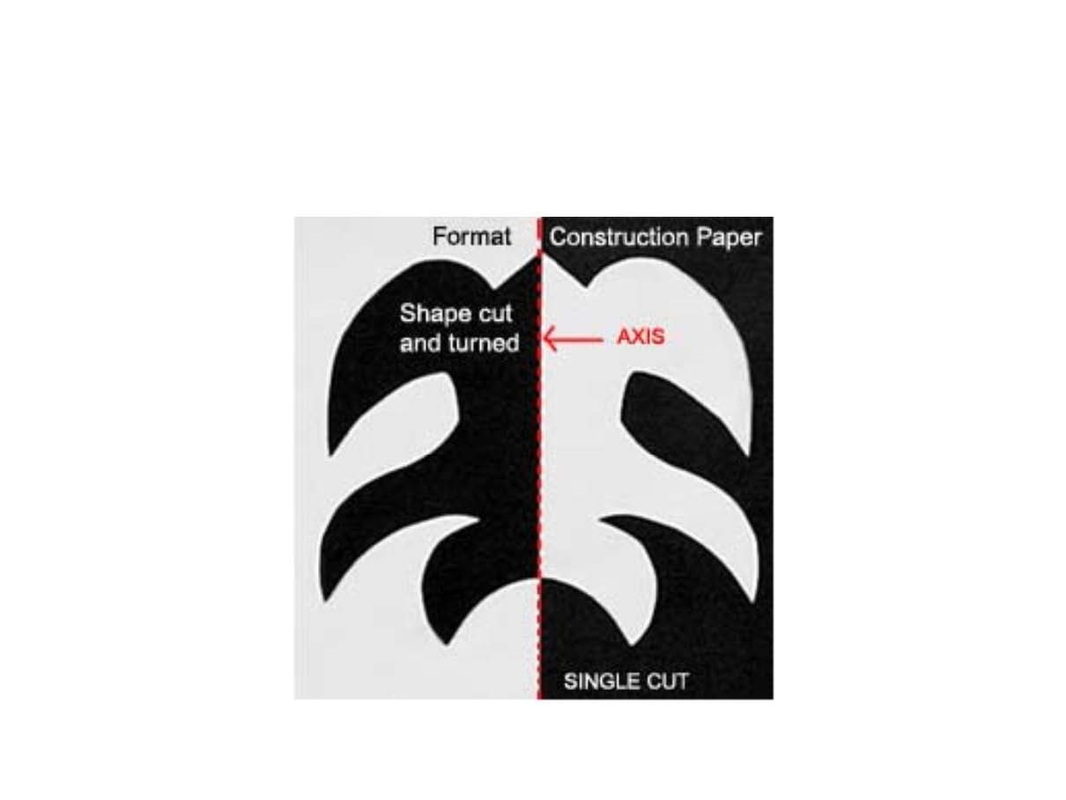
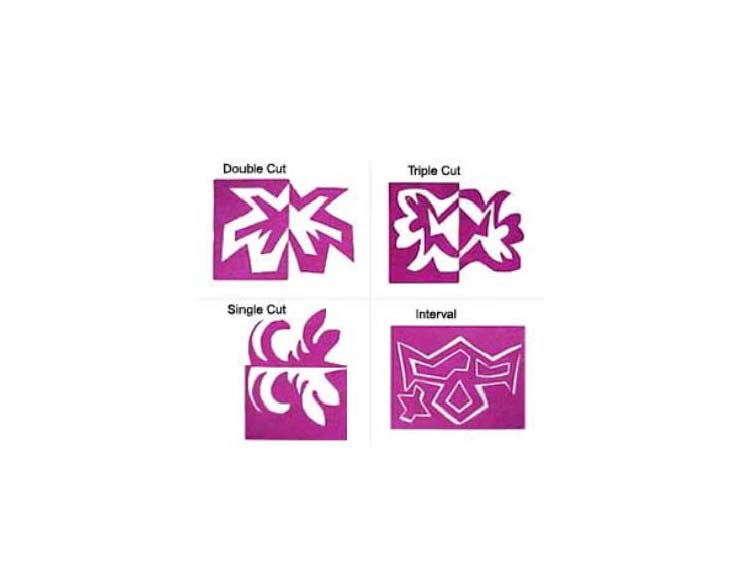
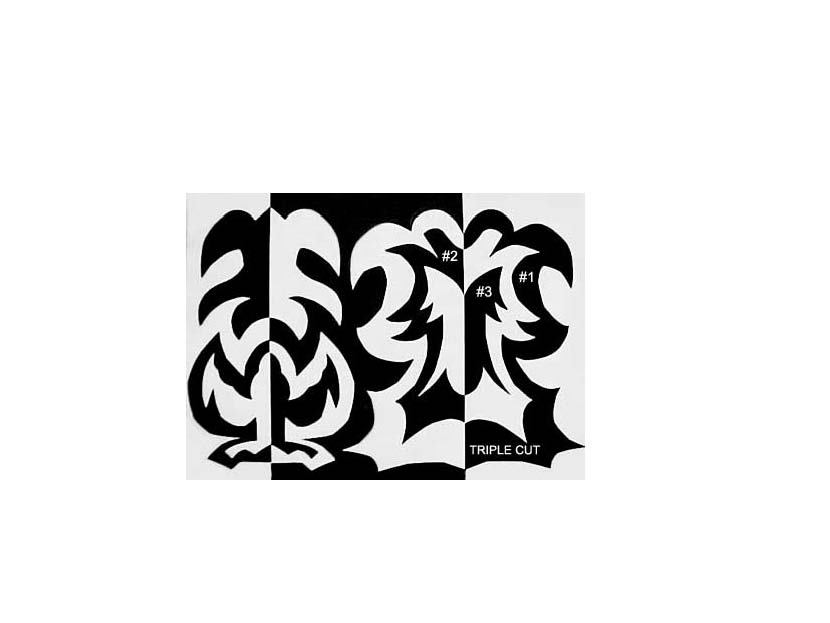
Students will learn how to create a figure/ground design out of construction paper.
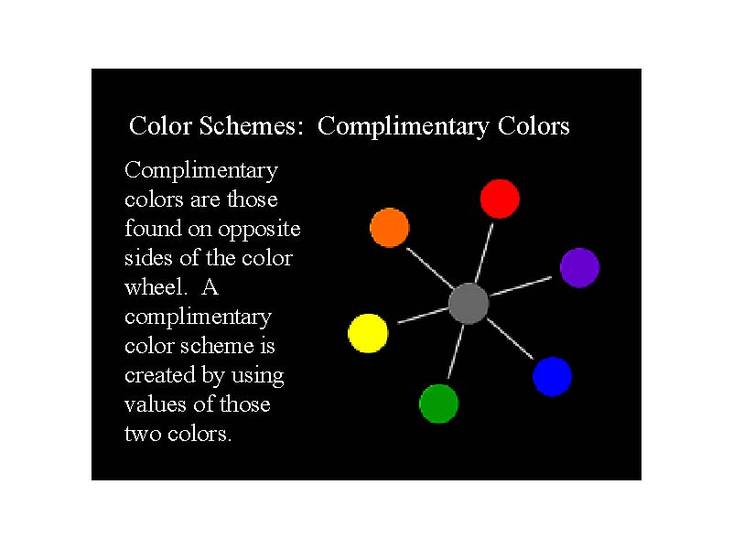
Students will learn the basic theory behind complimentary colors.
Procedure:
- Show “Smart Board” samples and discuss.
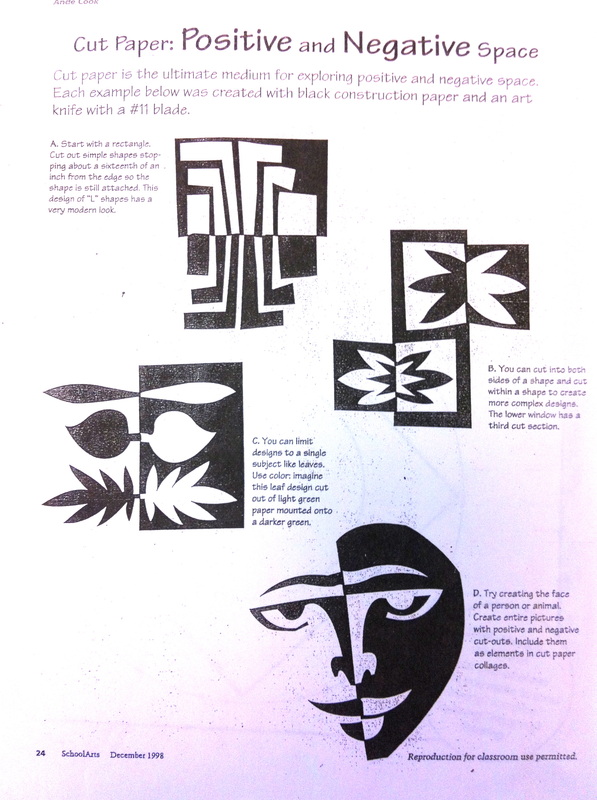
1. Distribute handout “Cut Paper: Positive and Negative Space”
discuss, read, and have students glue in their design books.
2. On the next blank page of their book have students glue their
paper designs.
Below is information about positive and negative space
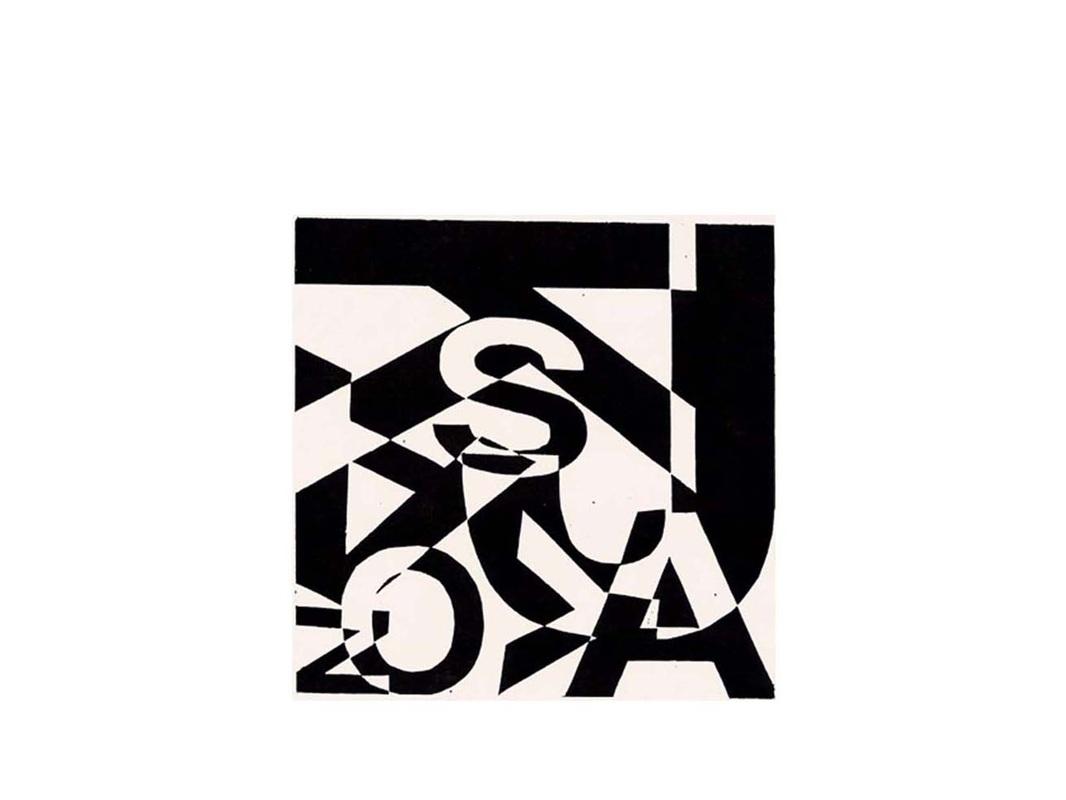
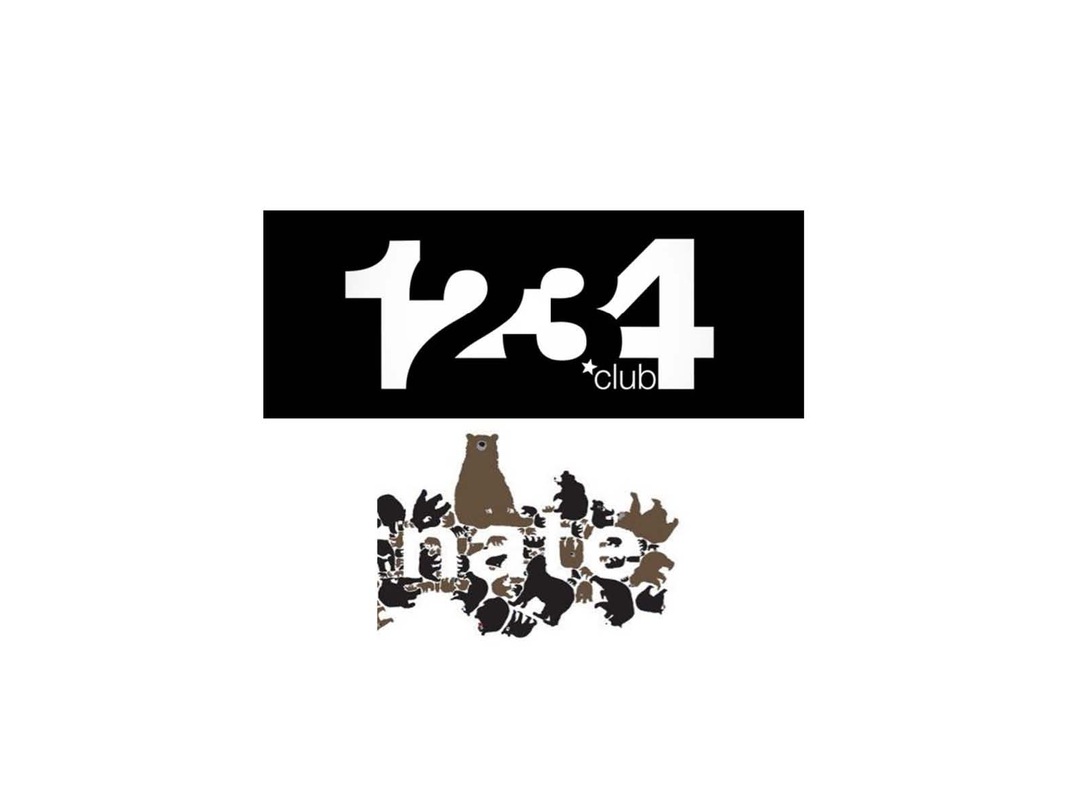
Student Work
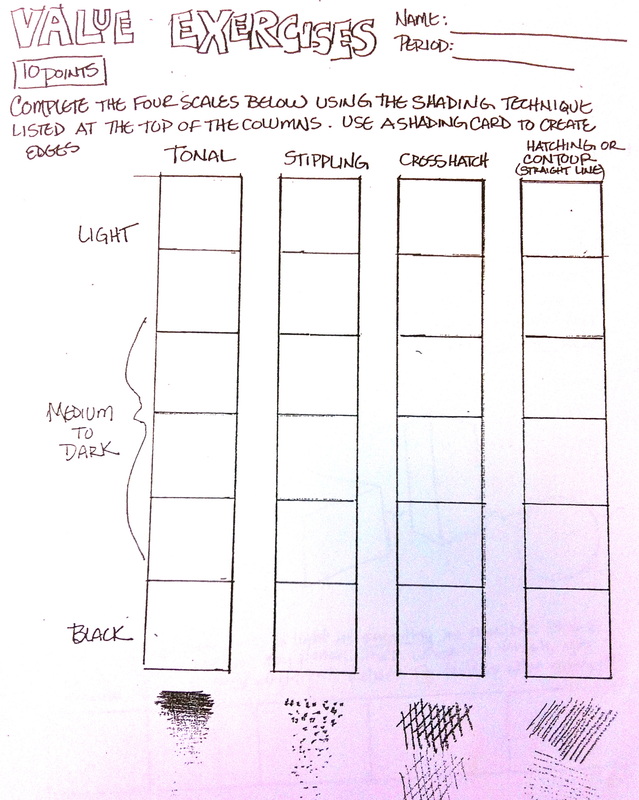
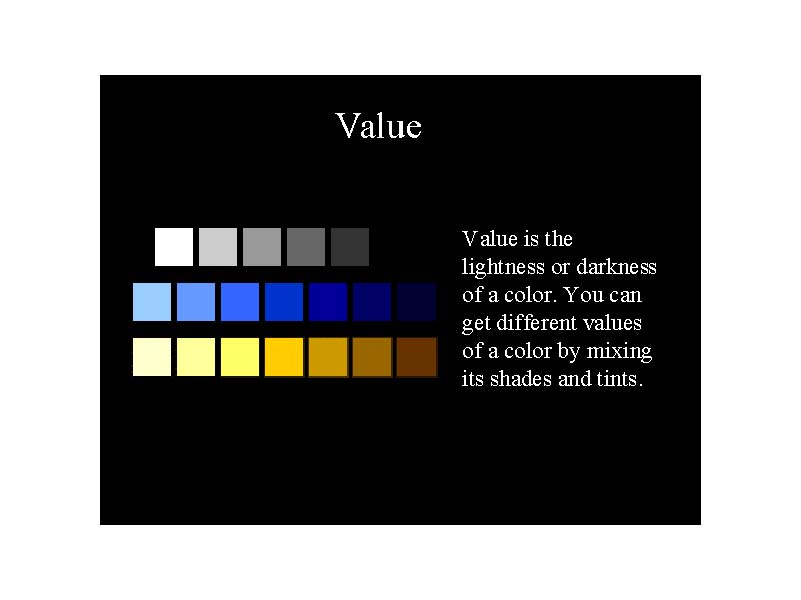
Value
|
|
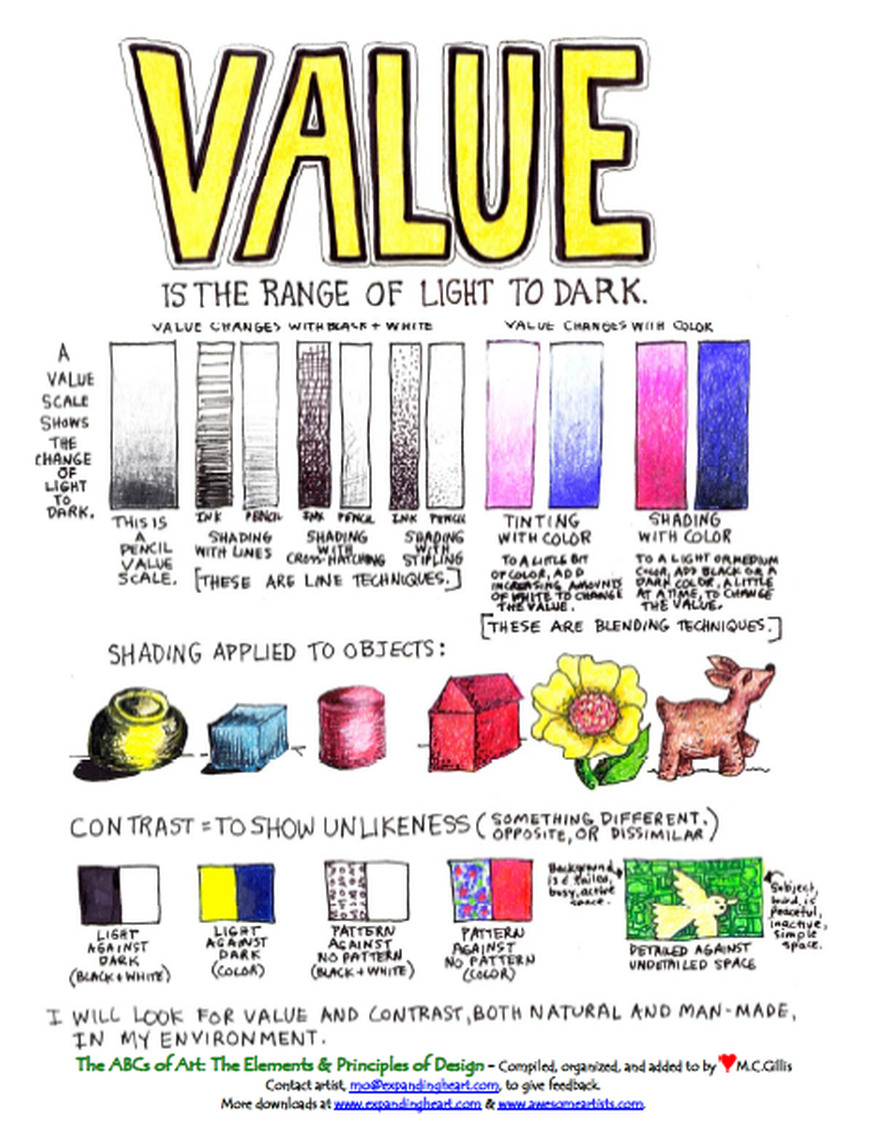
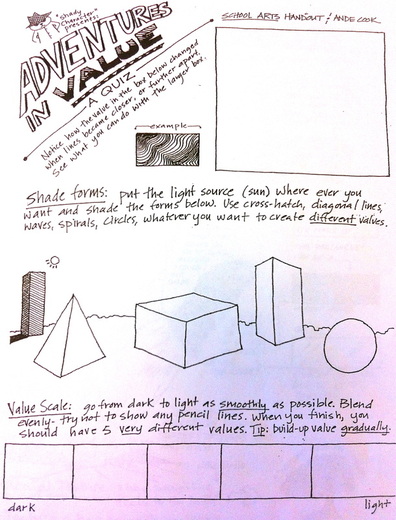
III. Design Element – Value (Shading)
Describe lesson…. Show You Tube clip on shading 4:41 minutes
http://www.youtube.com/watch?v=_WufjjmGvxg&feature=related
State Standards:
26.A.3eVisual Arts: Describe how the choices of tools/technologies and processes are
used to create specific effects in the arts.
Time: 3 - 40 minute class periods
Materials: pencil
Objective:
Procedure:
1. Show You Tube clip and discuss.
2. Distribute handouts “Adventure in Value and Value Exercises” discuss, read, and
have students glue in their design books.
3. Have students shade bottles too.
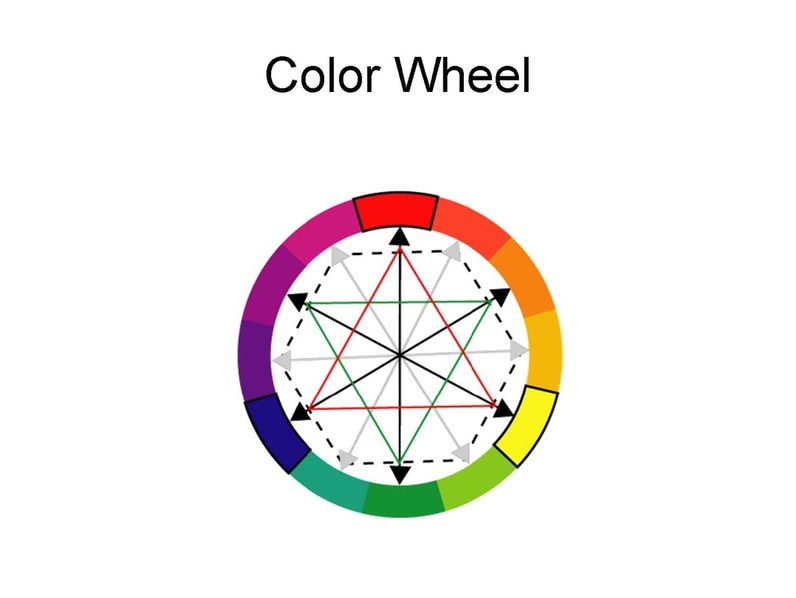
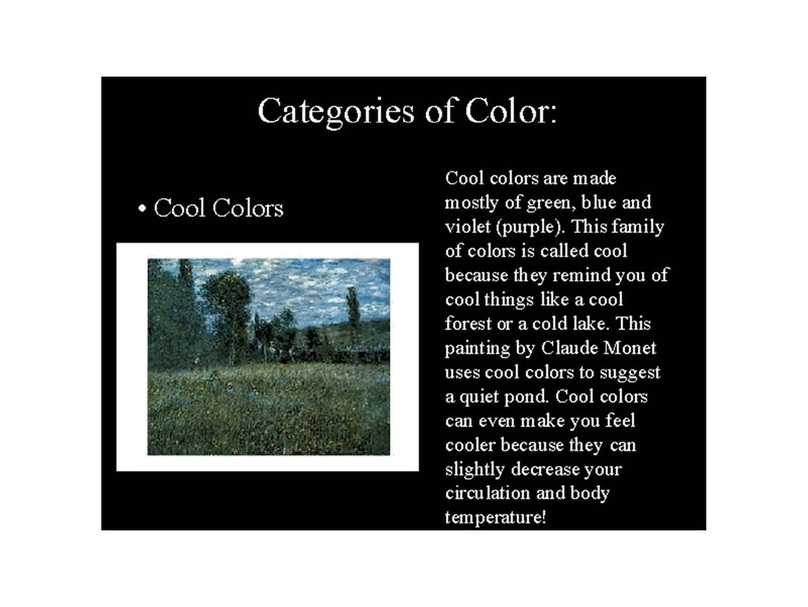
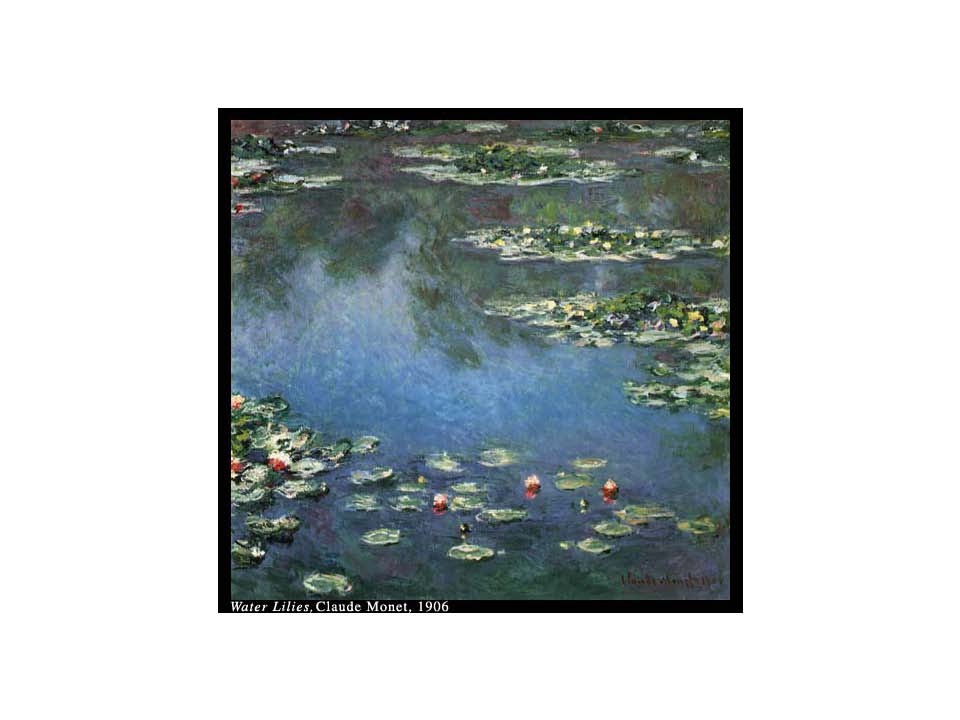
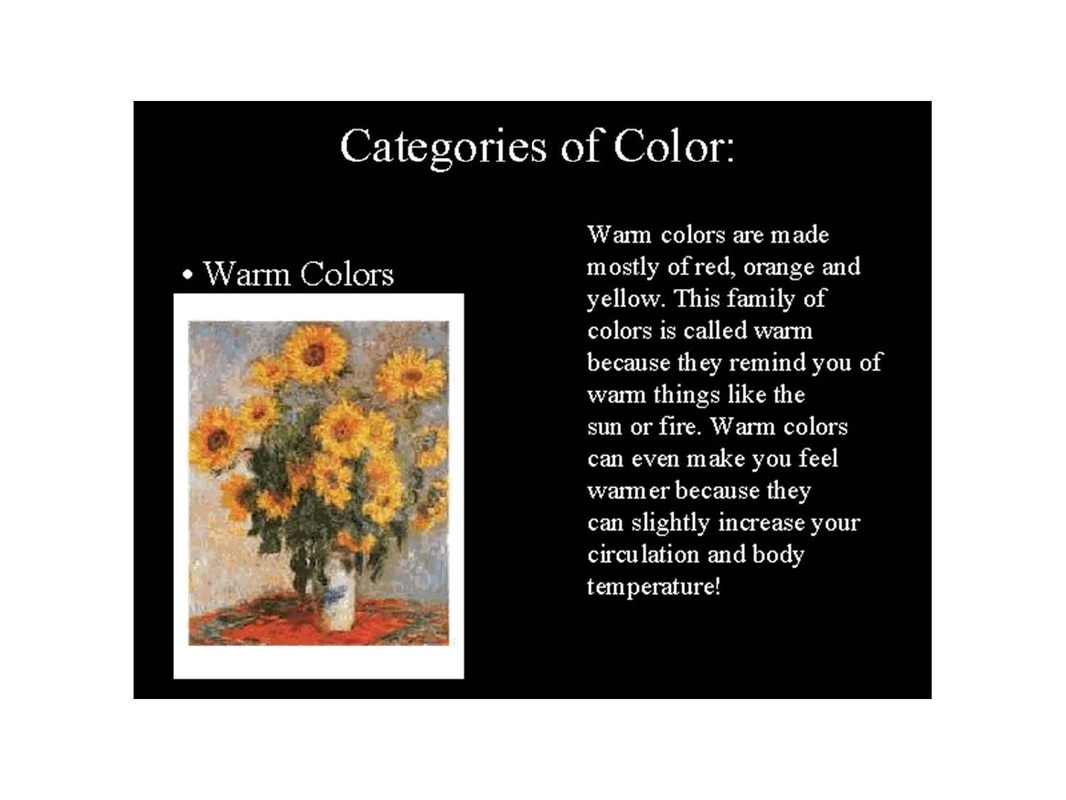
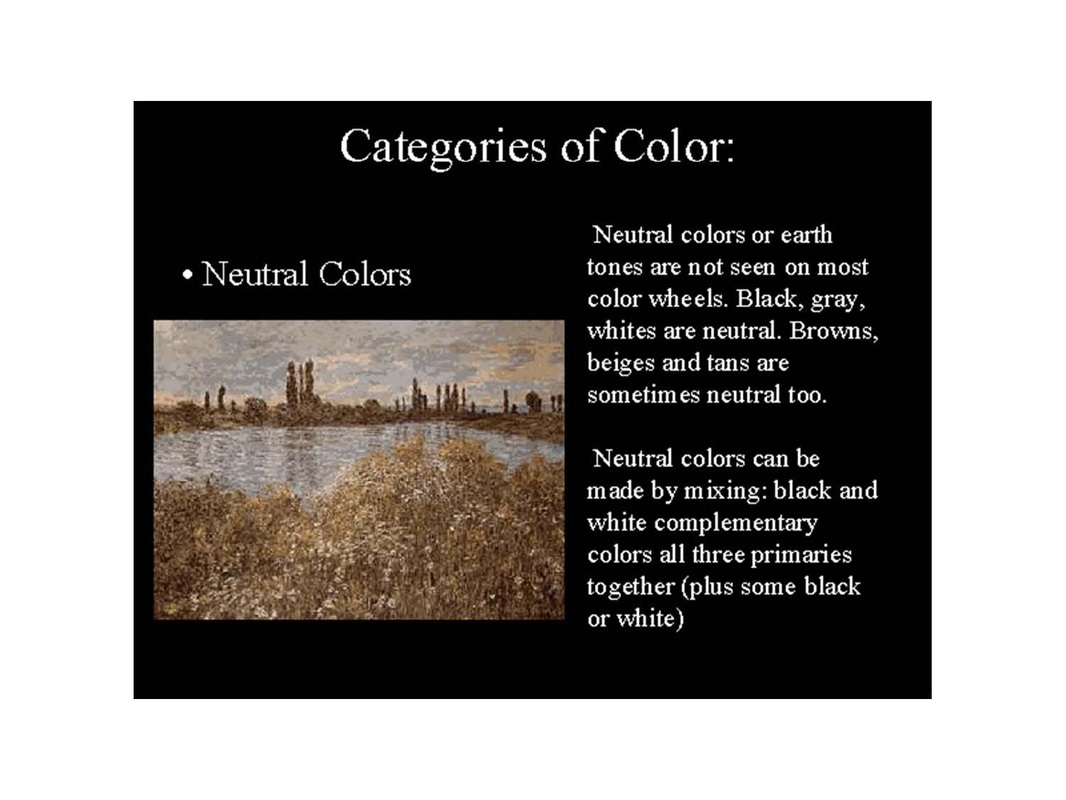
Color
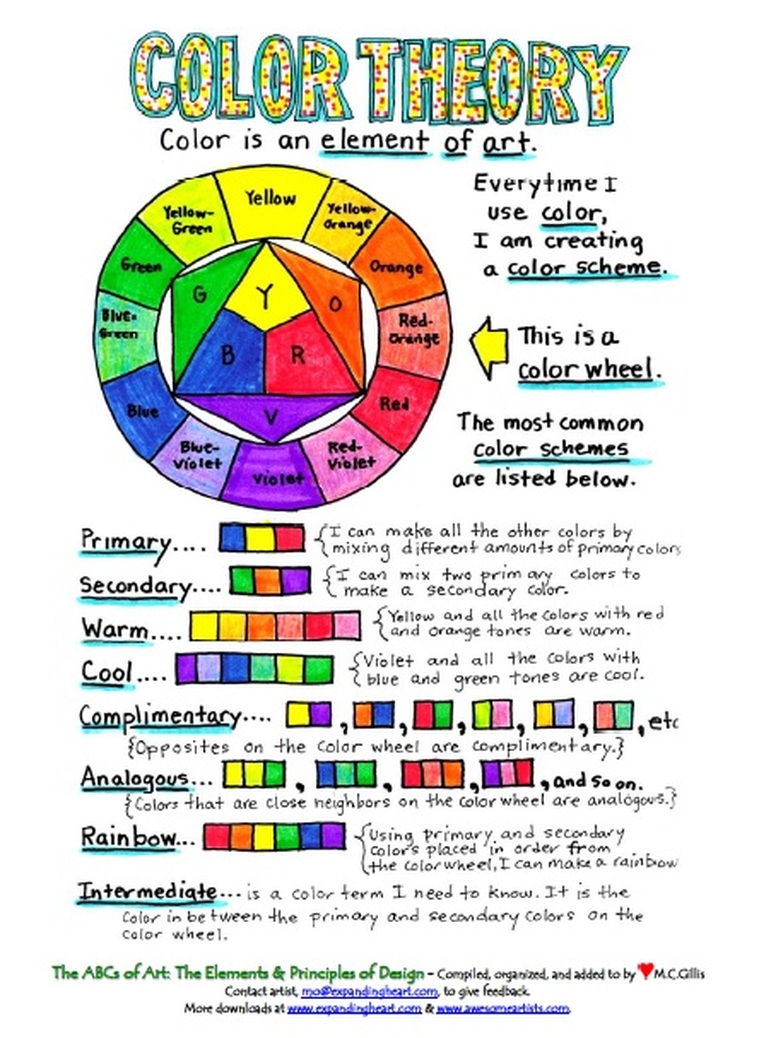
IV. Color
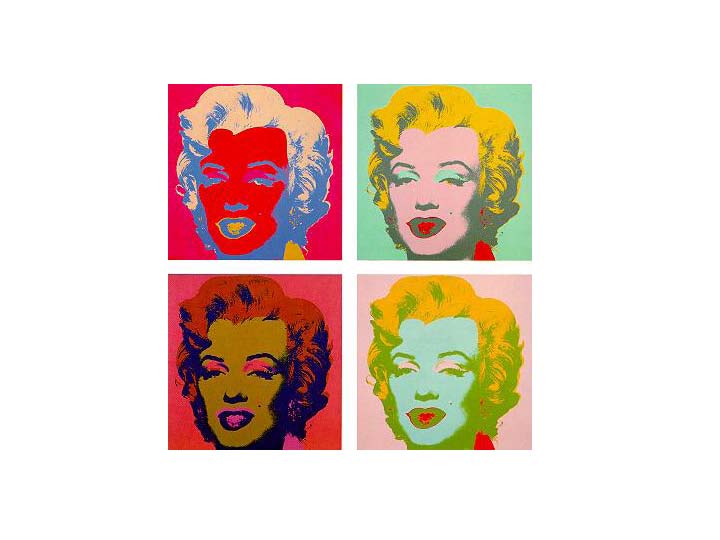
Describe lesson…anticipatory set . Show power point lesson on color
State Standards:
25.A.3d Visual Arts: Identify and describe the elements of value, perspective and color schemes; the principles of contrast, emphasis and unity; and the expressive qualities of thematic development and sequence.
Time: 2 - 40 minute class periods
Materials: colored pencils
Objectives:
Procedure:
1. Show power point and discuss.
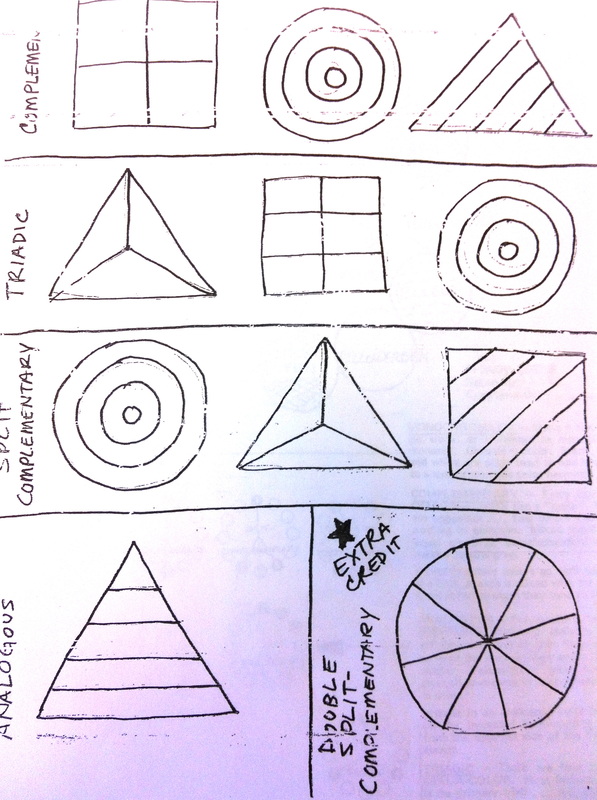
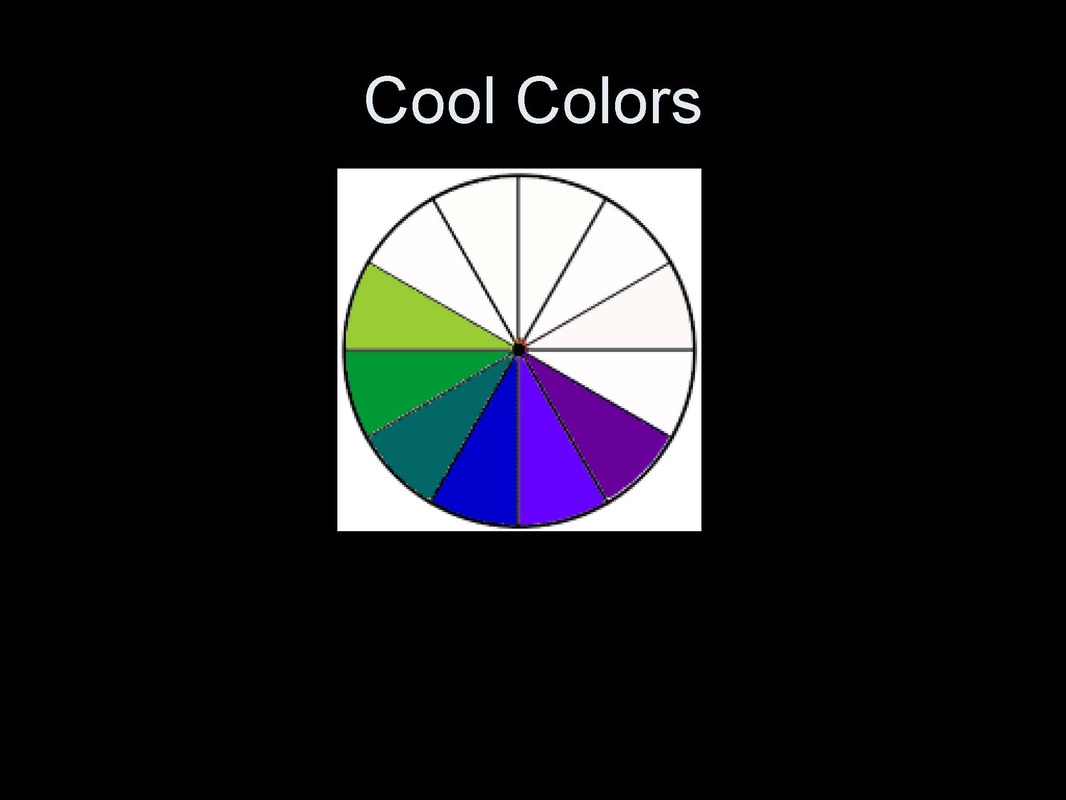
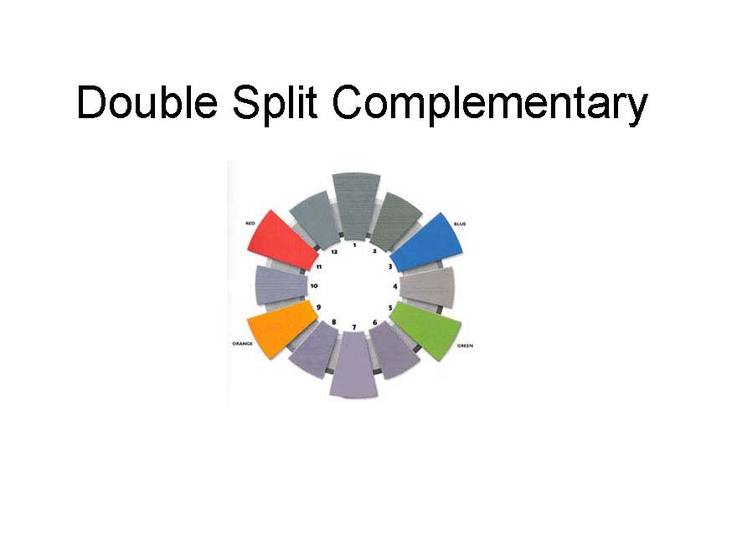
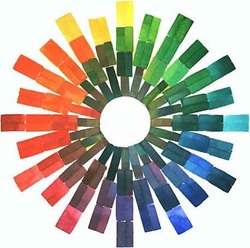
2. Distribute handouts “Color Wheel chart and color schemes” discuss, read, and have students glue in their design books.
3. Have students color the color wheel using colored pencils and use the chart for the color scheme activity.
4. Distribute handout "That's a Pretty Color" discuss color vocabulary.
Describe lesson…. Show You Tube clip on shading 4:41 minutes
http://www.youtube.com/watch?v=_WufjjmGvxg&feature=related
State Standards:
26.A.3eVisual Arts: Describe how the choices of tools/technologies and processes are
used to create specific effects in the arts.
Time: 3 - 40 minute class periods
Materials: pencil
Objective:
- Students will learn the basic elements of shading.
- Students will learn the difference between shade, shading, and shadow.
- Students will learn different techniques in shading.
Procedure:
1. Show You Tube clip and discuss.
2. Distribute handouts “Adventure in Value and Value Exercises” discuss, read, and
have students glue in their design books.
3. Have students shade bottles too.
Color
IV. Color
Describe lesson…anticipatory set . Show power point lesson on color
State Standards:
25.A.3d Visual Arts: Identify and describe the elements of value, perspective and color schemes; the principles of contrast, emphasis and unity; and the expressive qualities of thematic development and sequence.
Time: 2 - 40 minute class periods
Materials: colored pencils
Objectives:
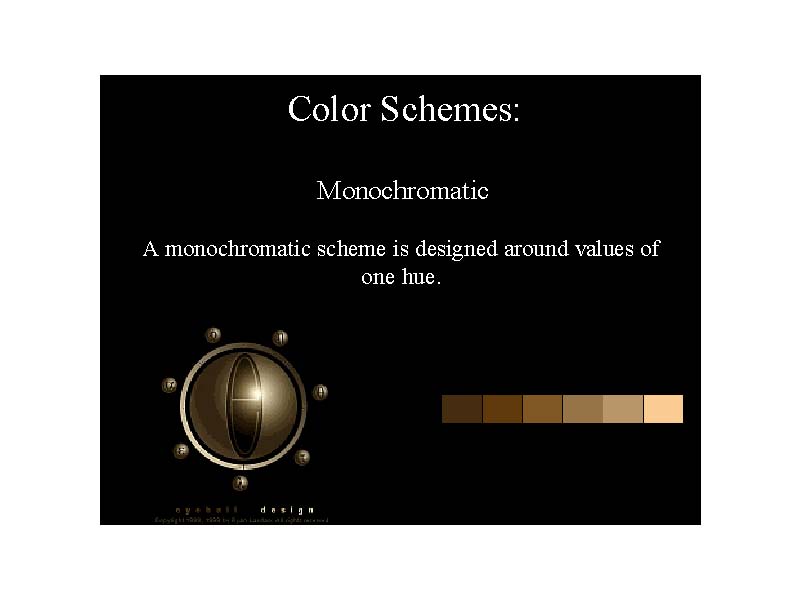
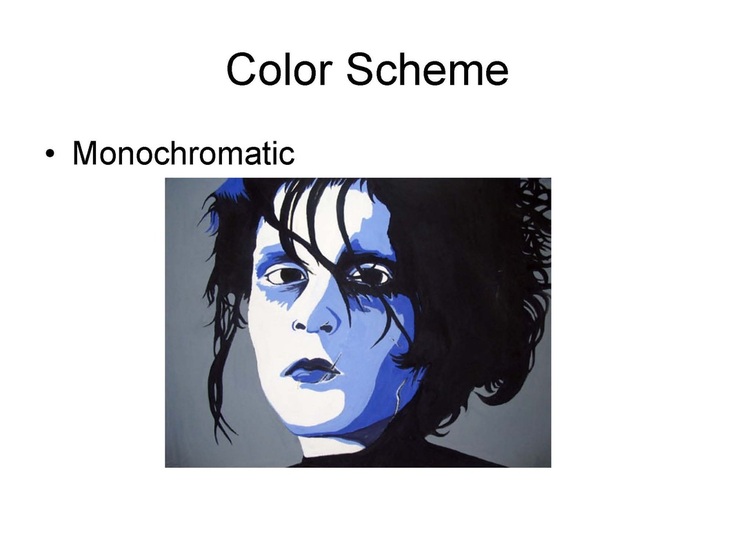
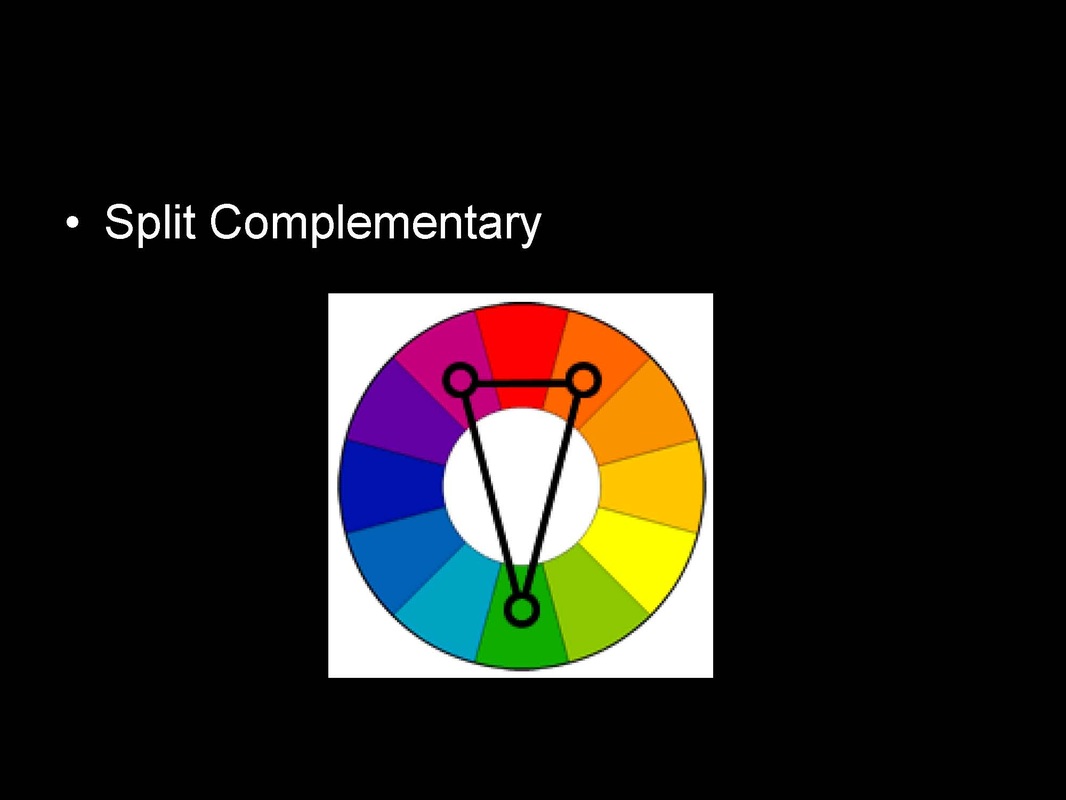
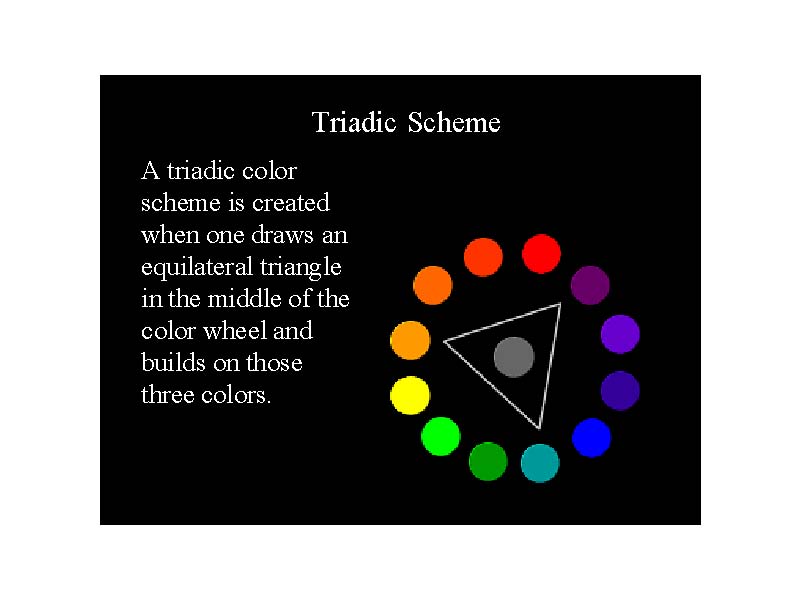
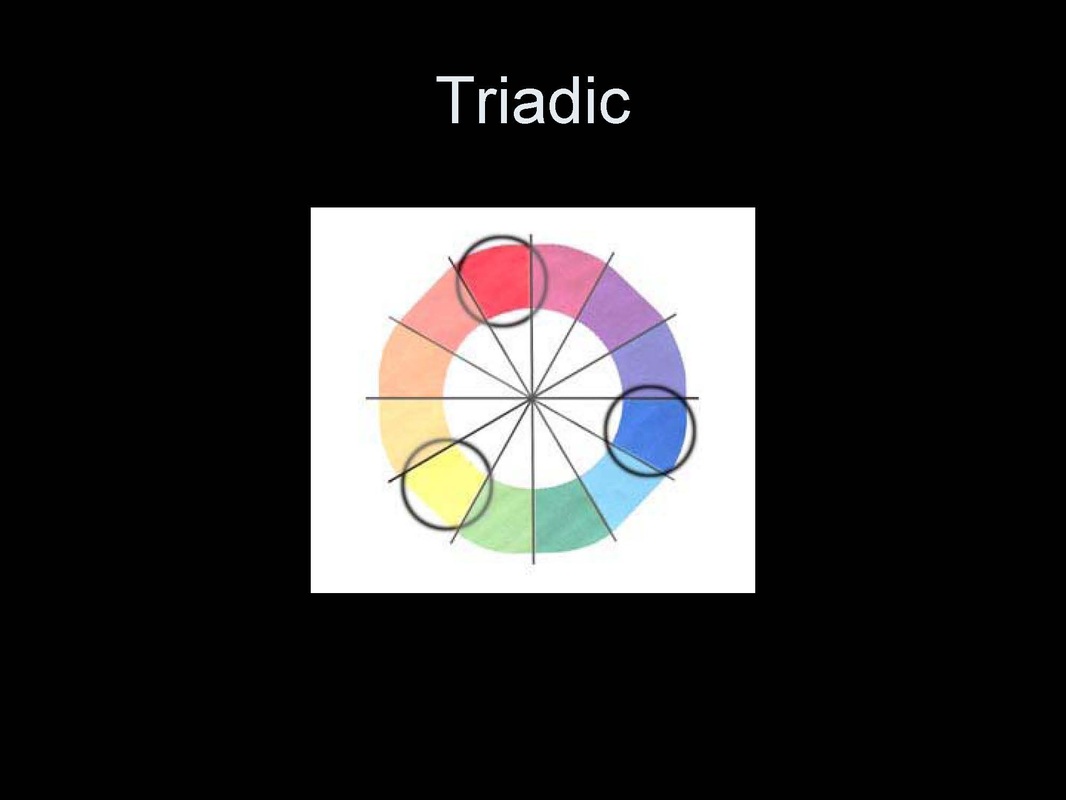
- Students will learn that there are different color combinations called “color schemes”
- Students will learn how to create different color schemes.
- Students will learn how to blend colors using colored pencils.
- Students will learn how to create a color wheel.
Procedure:
1. Show power point and discuss.
2. Distribute handouts “Color Wheel chart and color schemes” discuss, read, and have students glue in their design books.
3. Have students color the color wheel using colored pencils and use the chart for the color scheme activity.
4. Distribute handout "That's a Pretty Color" discuss color vocabulary.

|
|
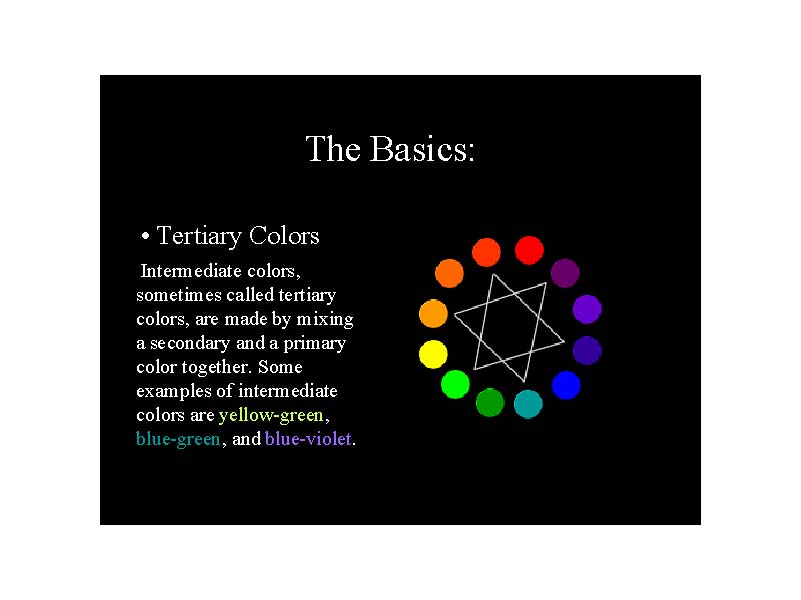
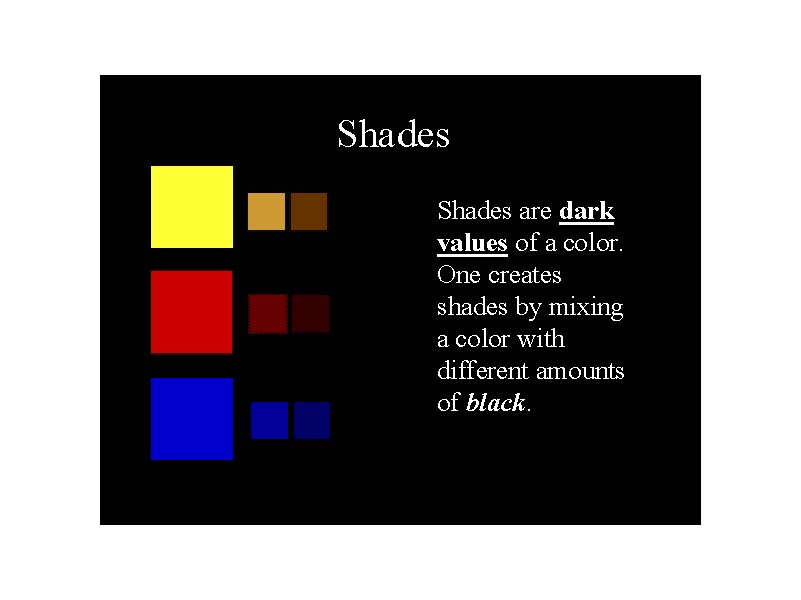
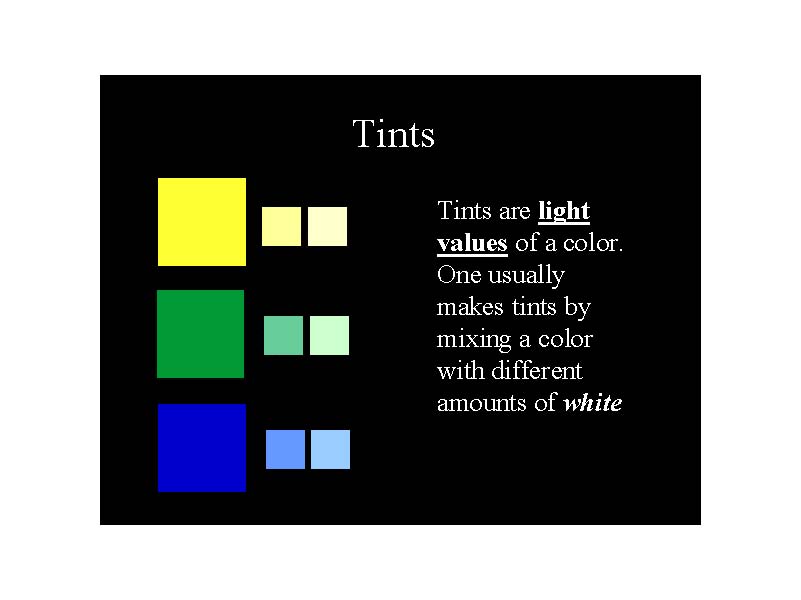
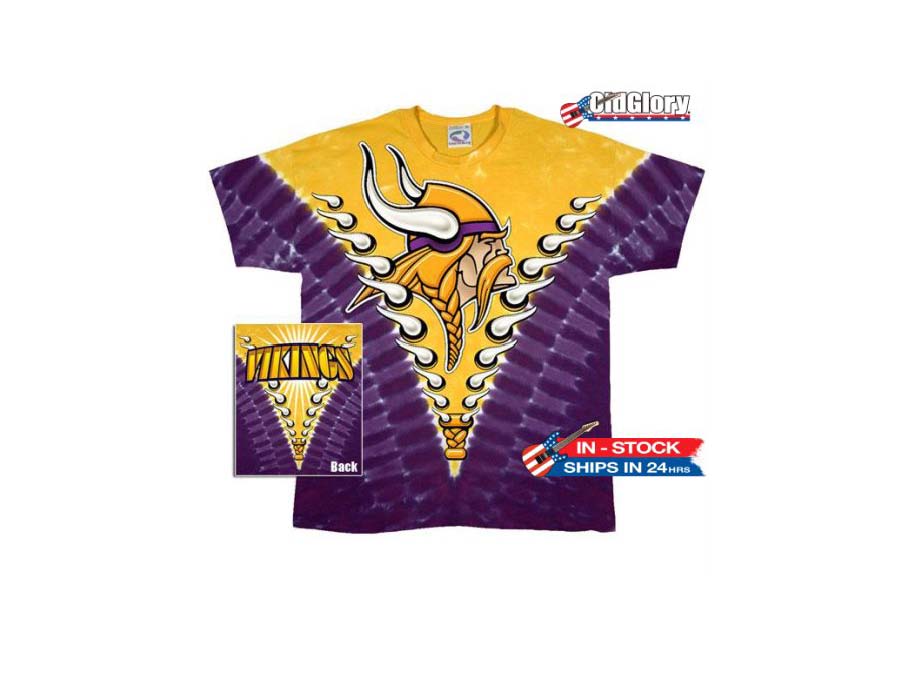
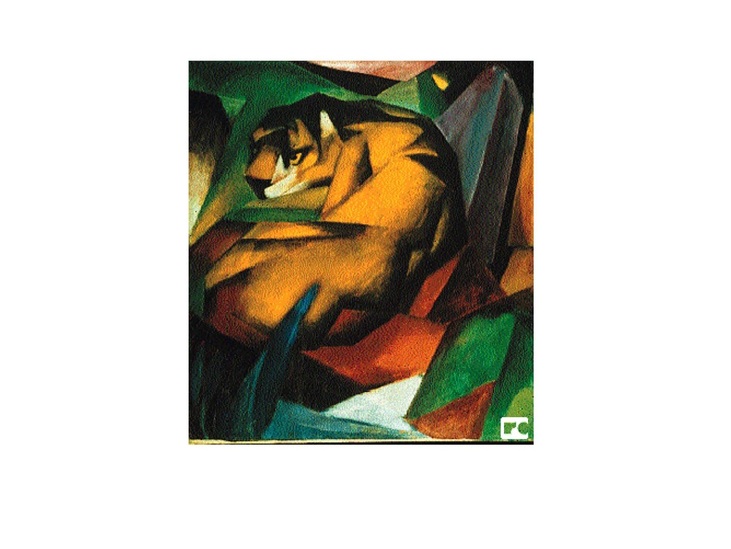
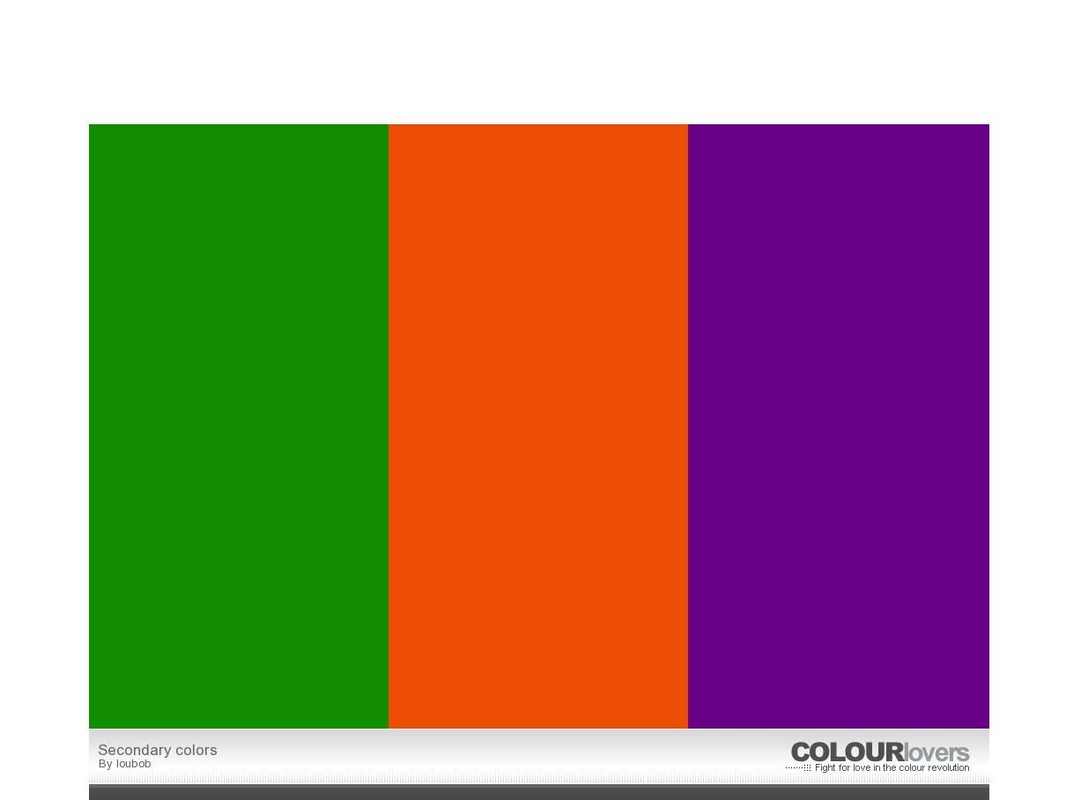
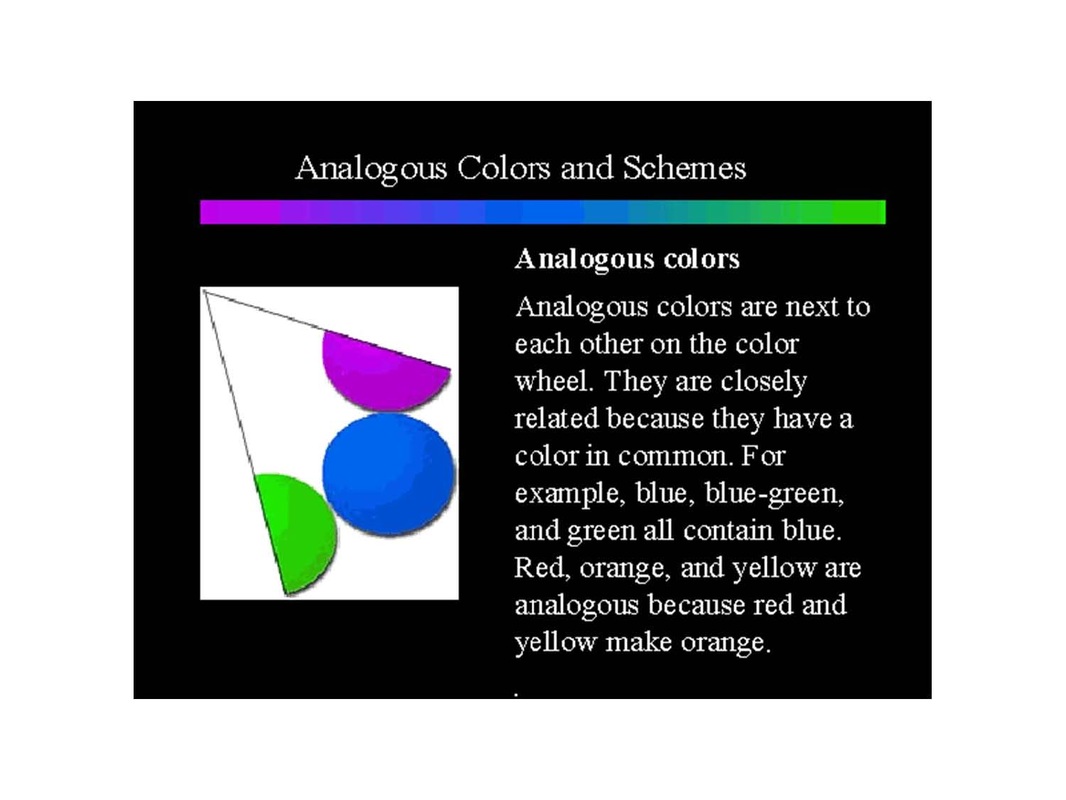
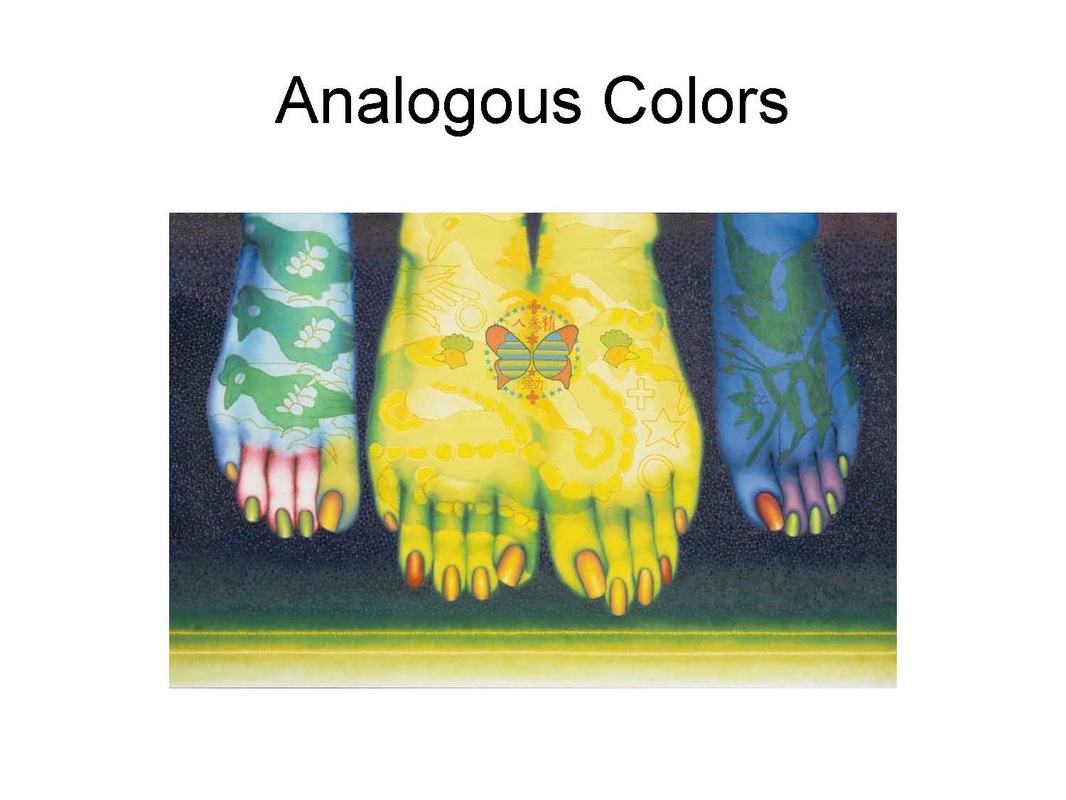
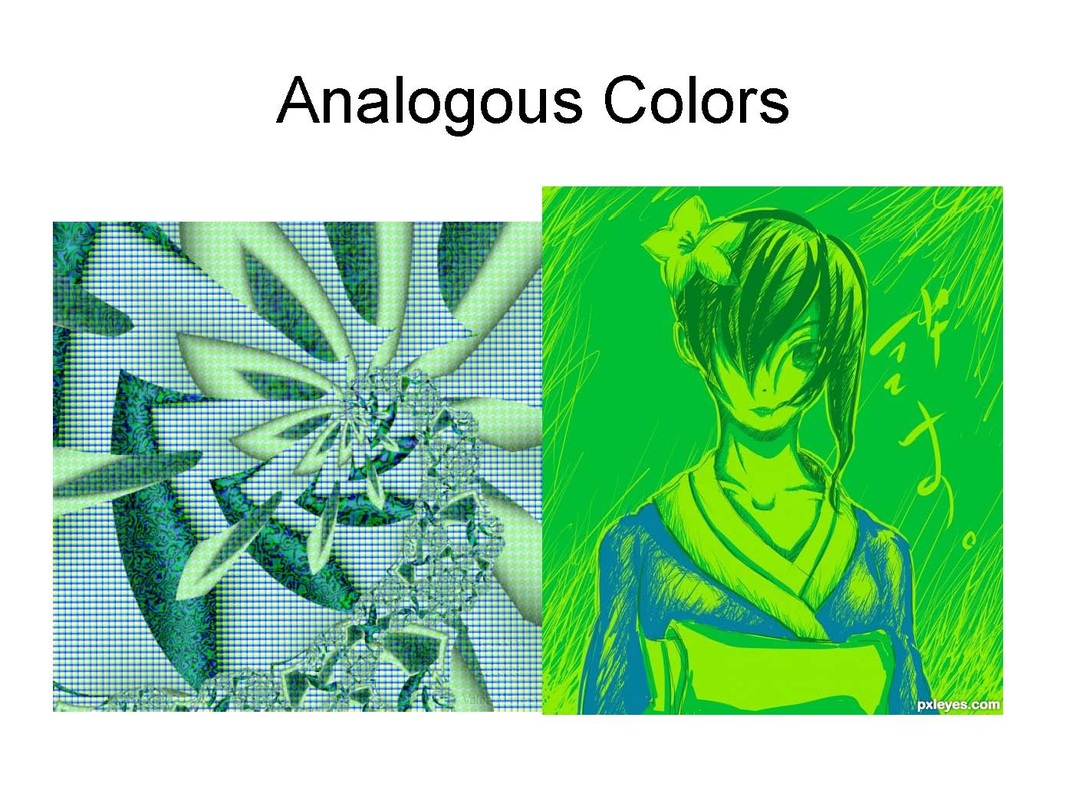
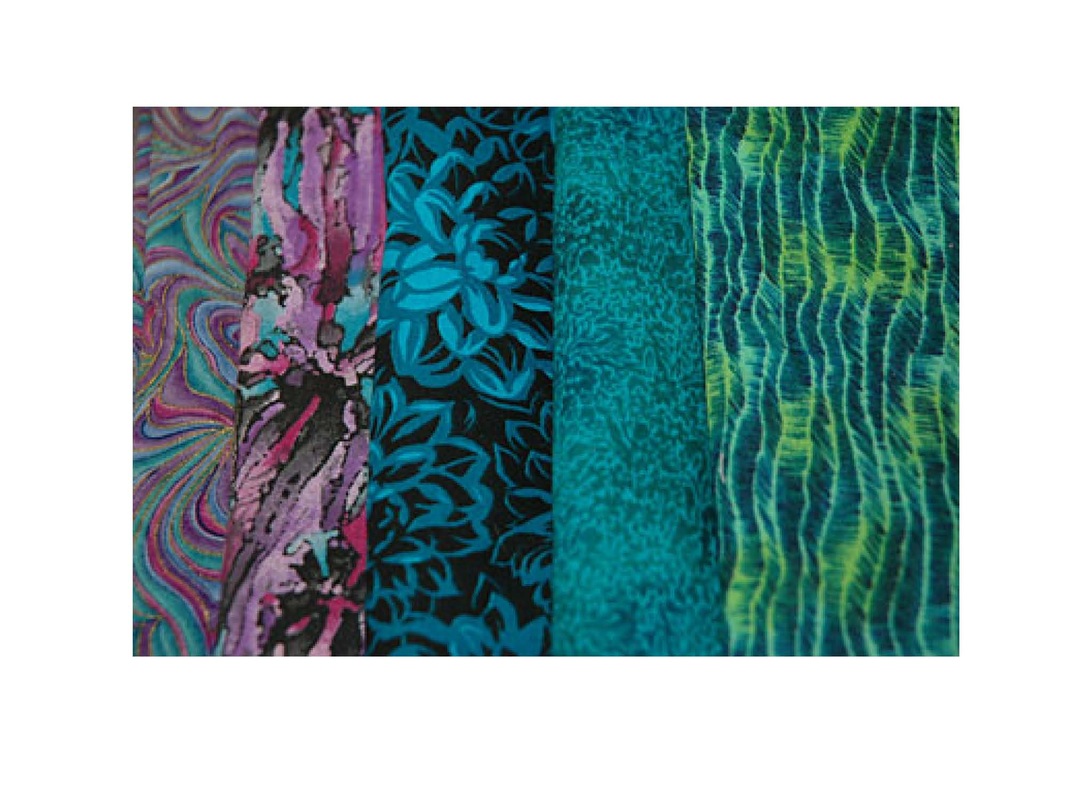
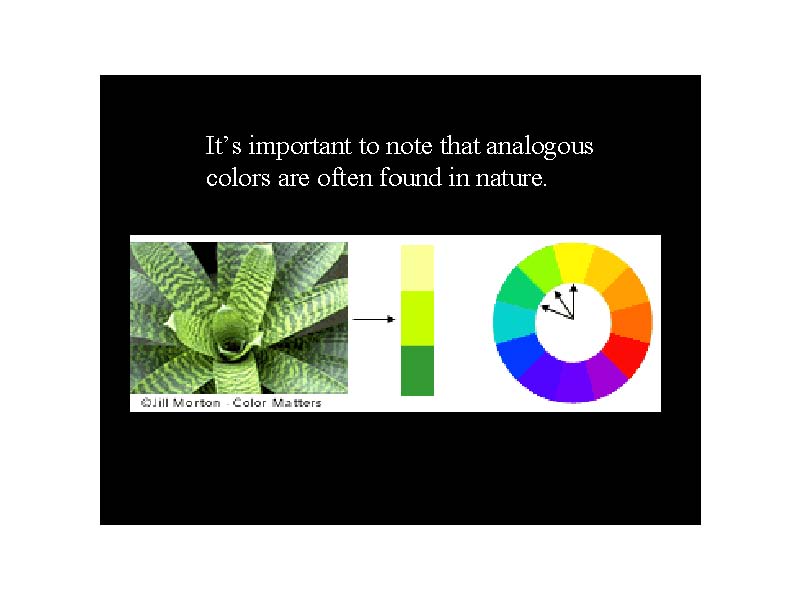
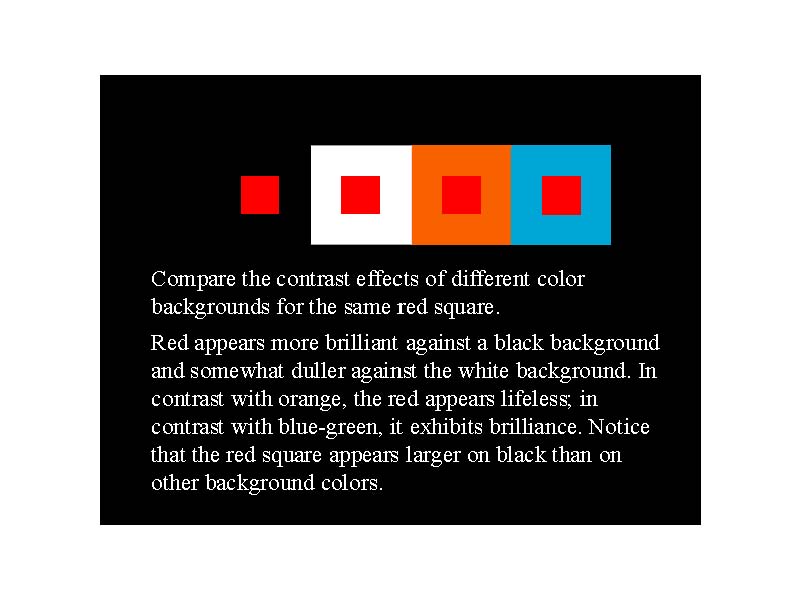
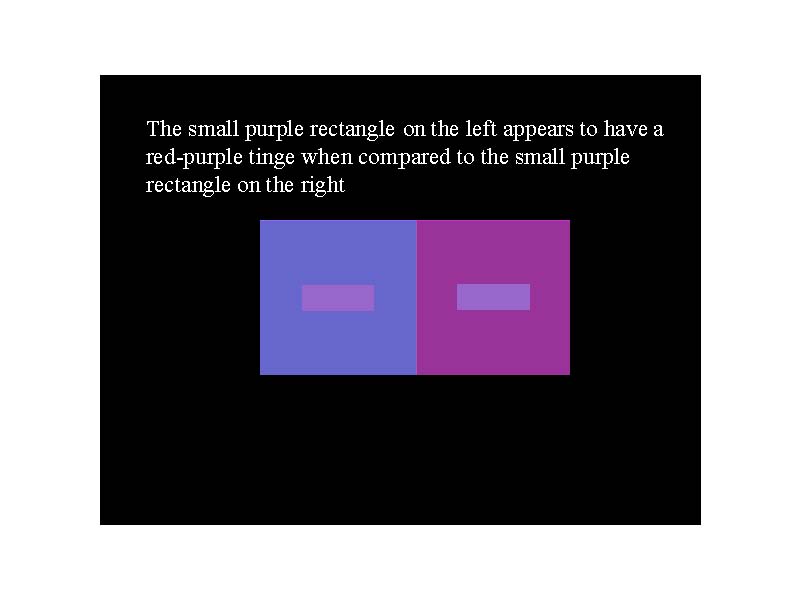
Here is some basic information about color...

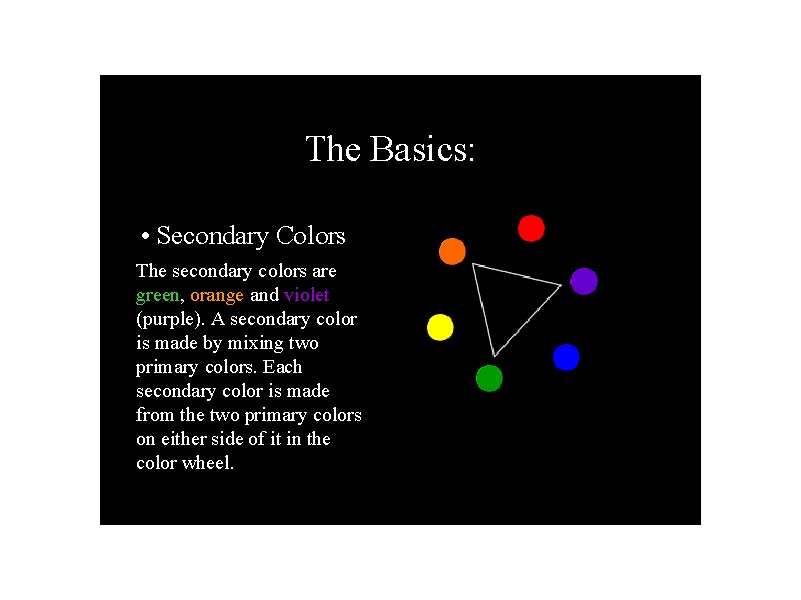


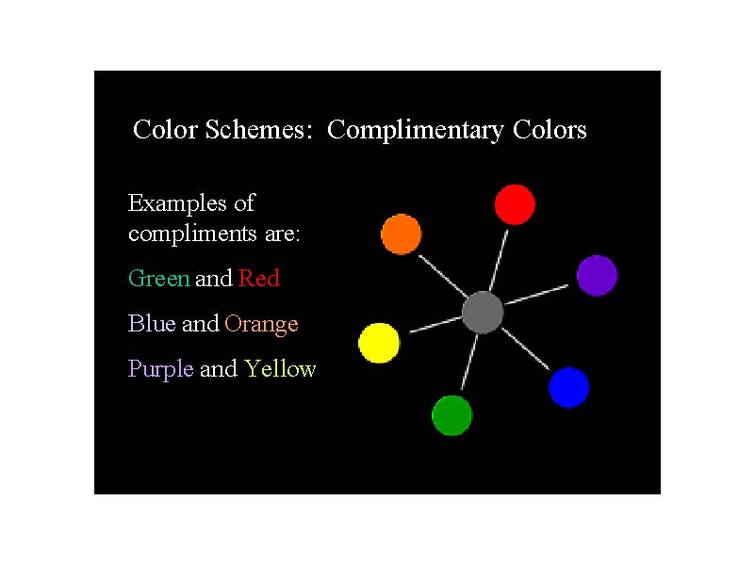
Red and Green
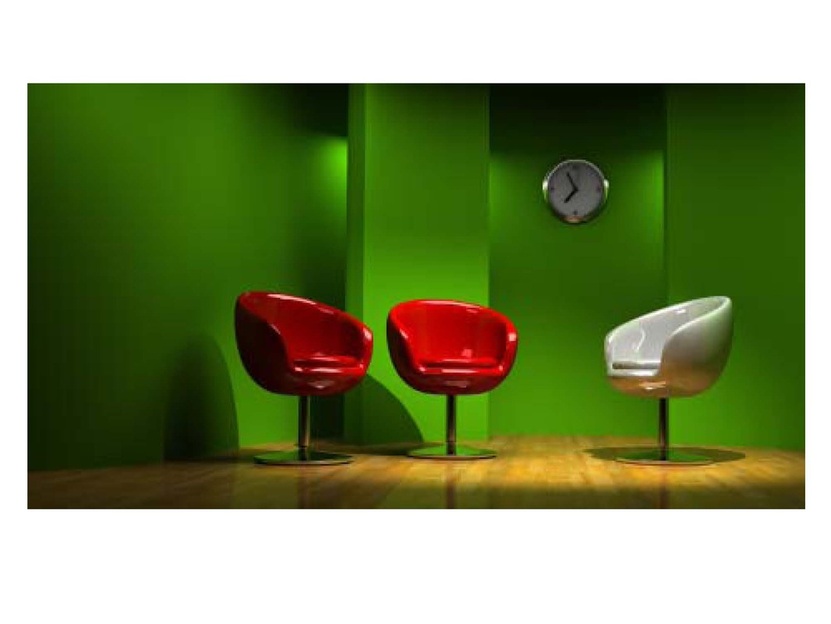
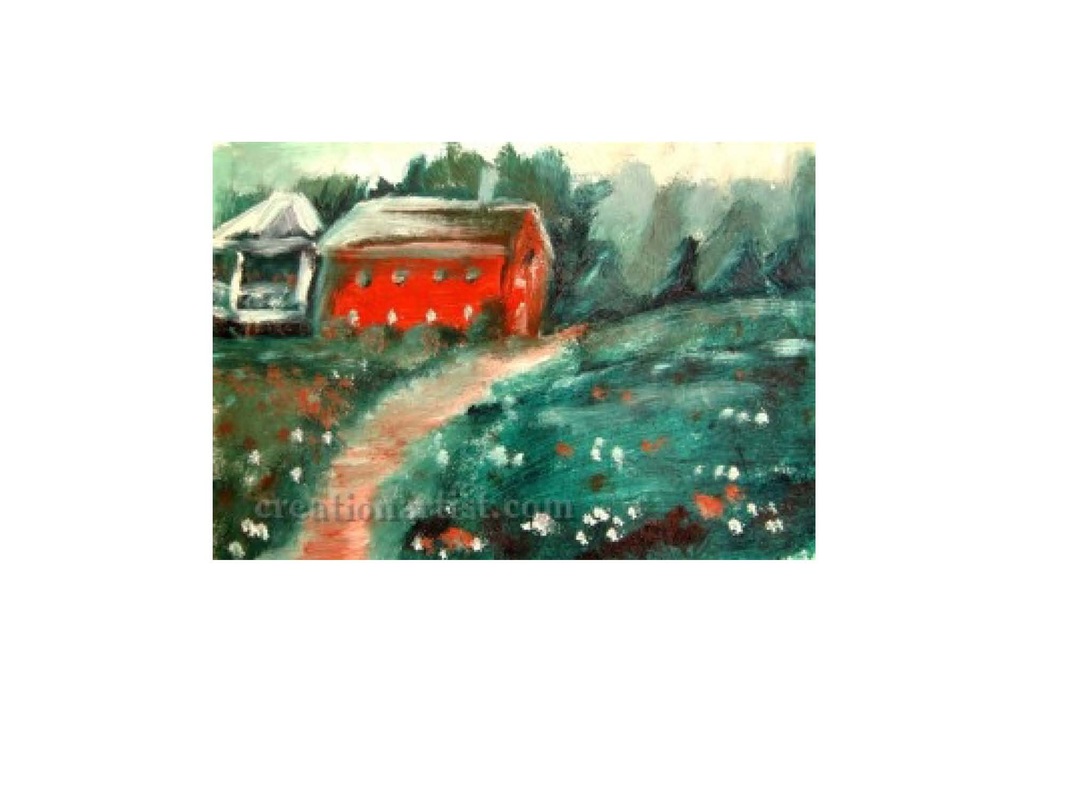
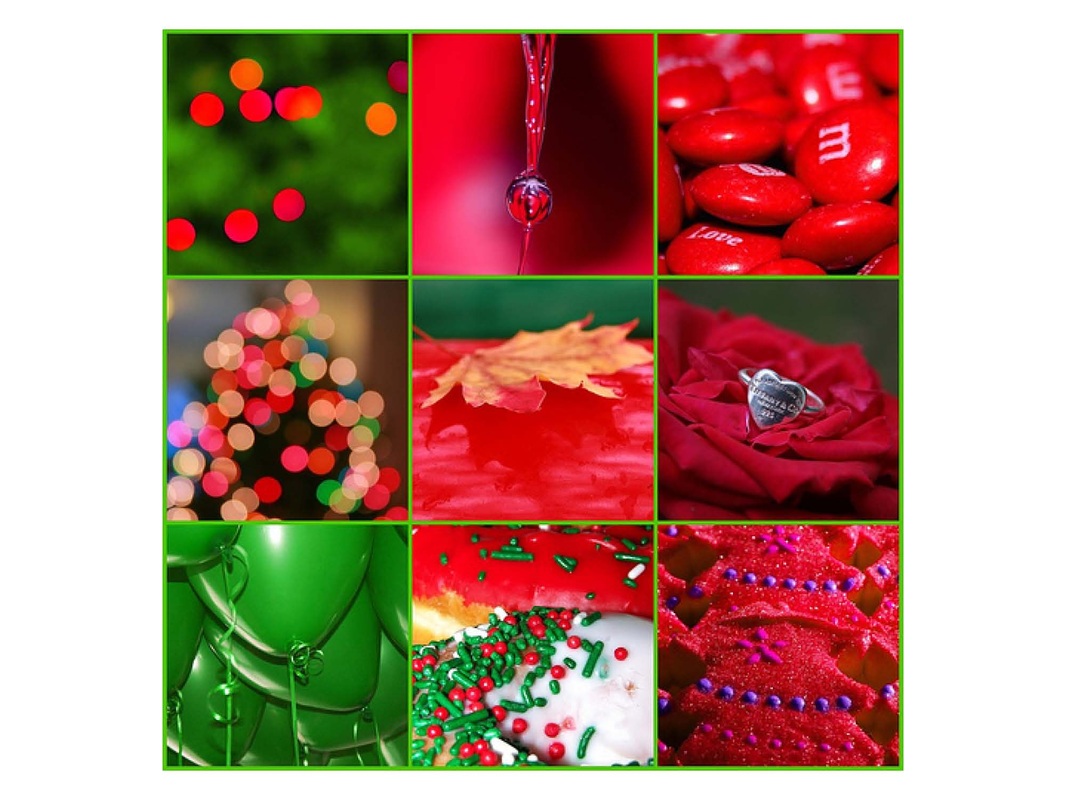
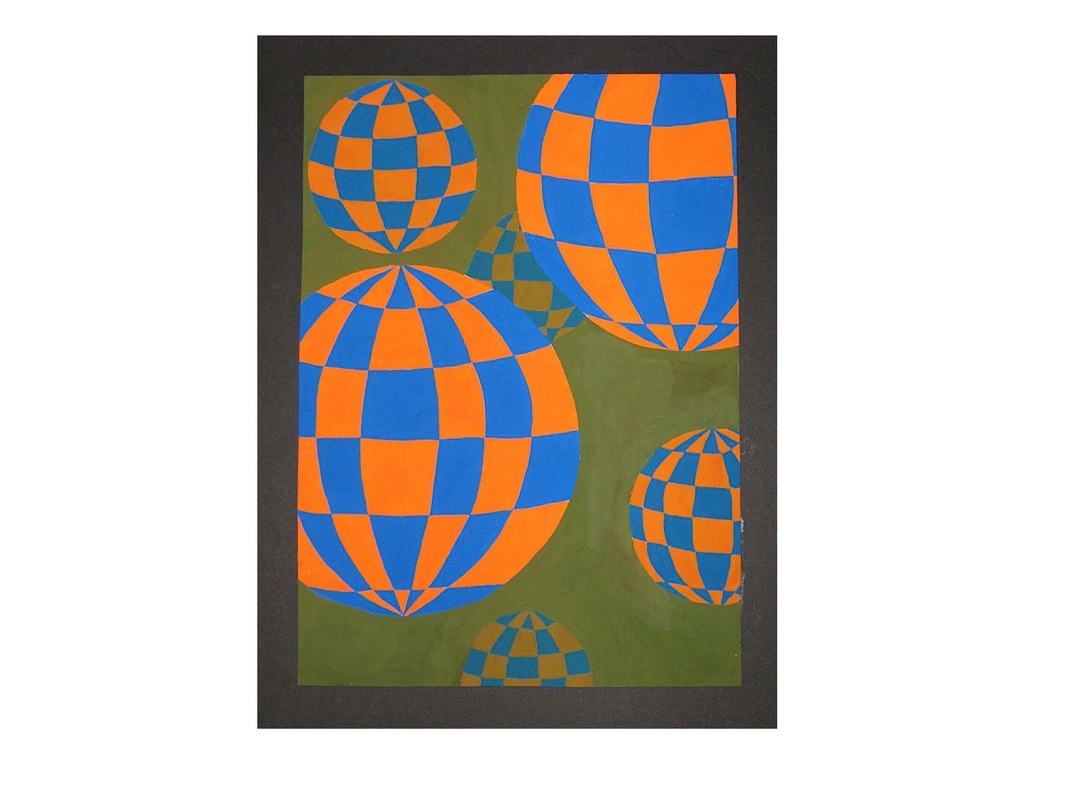
Blue and Orange
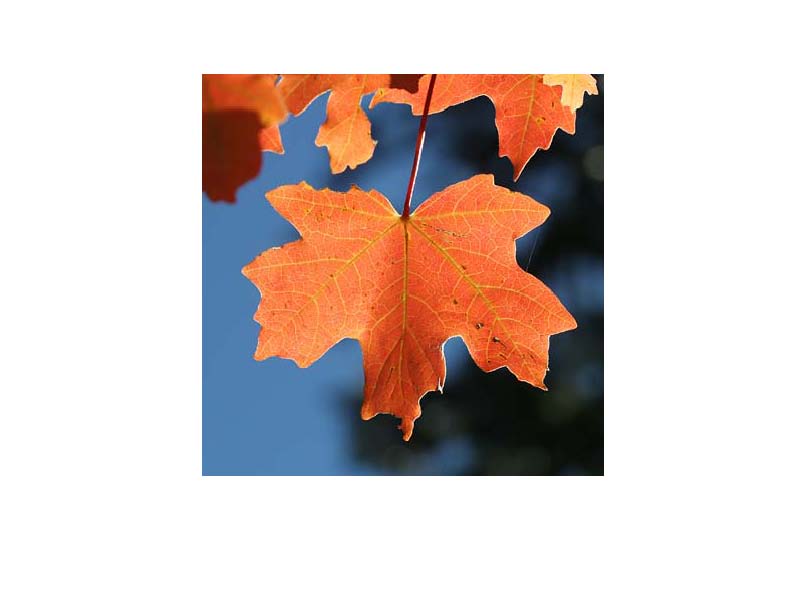

Yellow and Violet


 |
 |
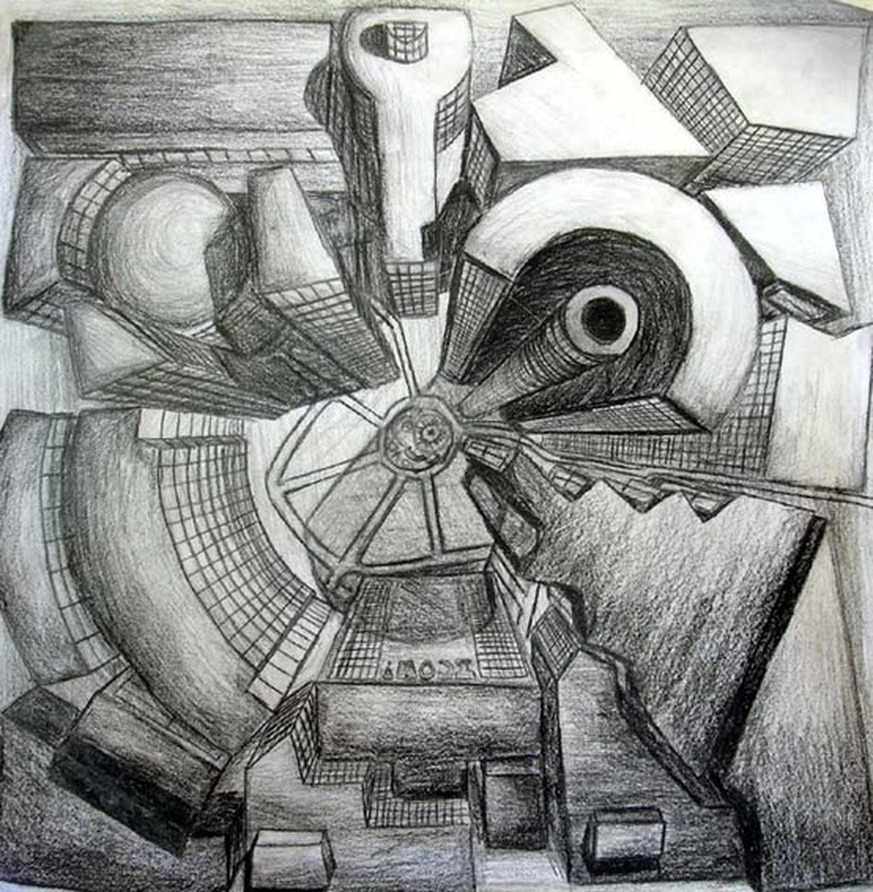
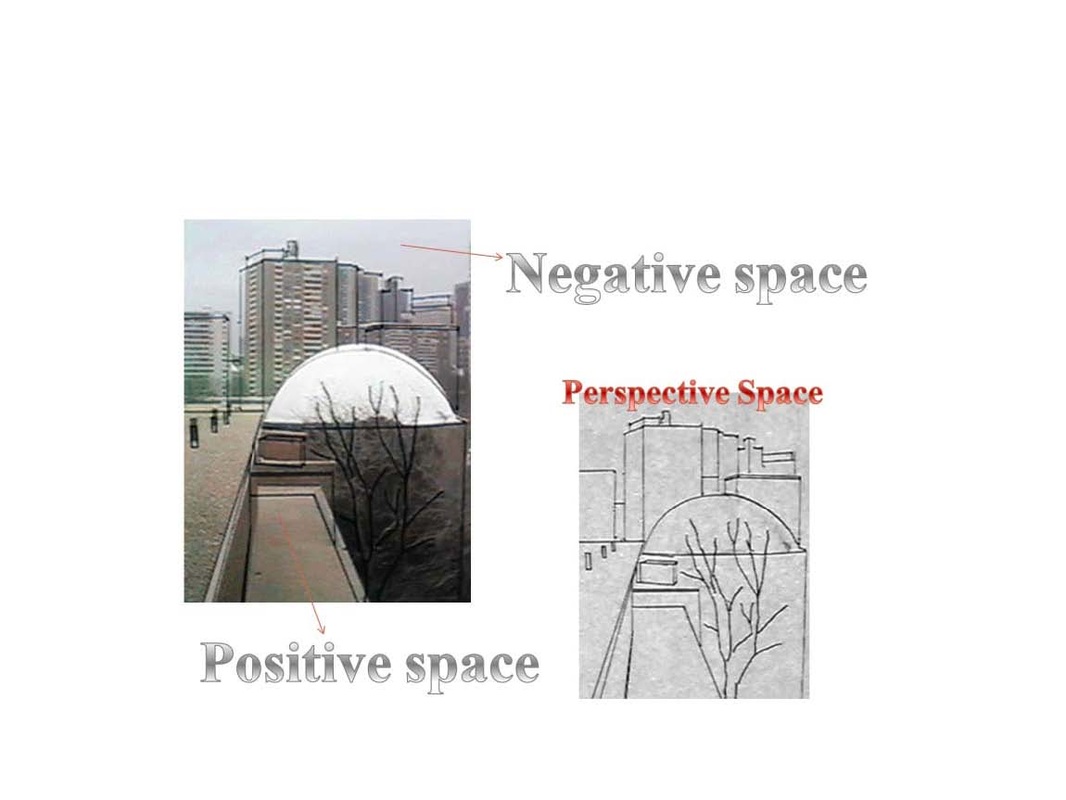
Perspective
V. Perspective
Anticipatory set: Show students perspective examples from this website
http://www.artsconnected.org/toolkit/index.html
State Standards:
25.A.3d Visual Arts: Identify and describe the elements of value, perspective and color schemes; the principles of contrast, emphasis and unity; and the expressive qualities of thematic development and sequence.
Time: 3 - 40 minute class periods
Materials: pencils, rulers, andcolored pencils
Objectives:
- Students will learn the difference between aerial, linear, and atmospheric perspective.
- Students will learn about and create depth in a picture plane area.
- Students will learn about and create a vanishing point and converging lines.
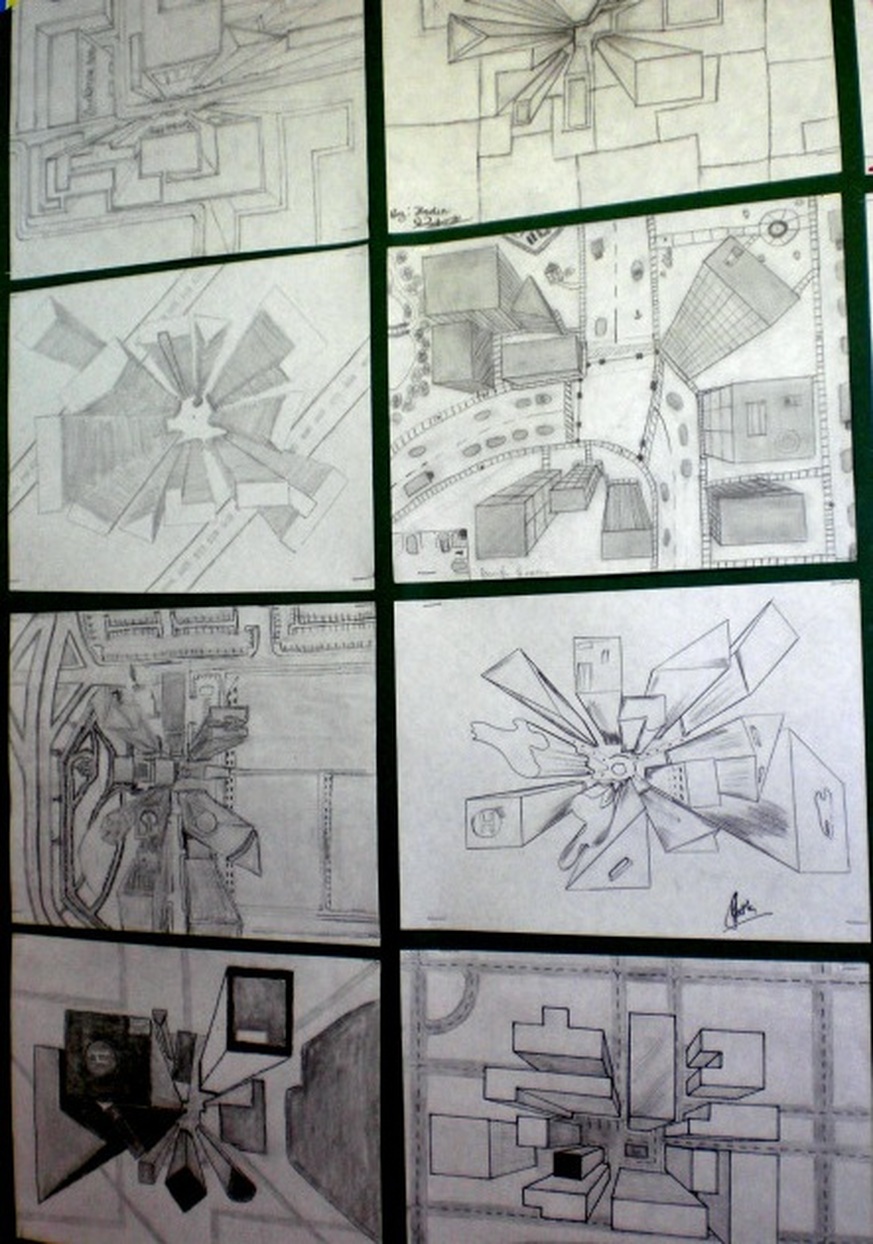
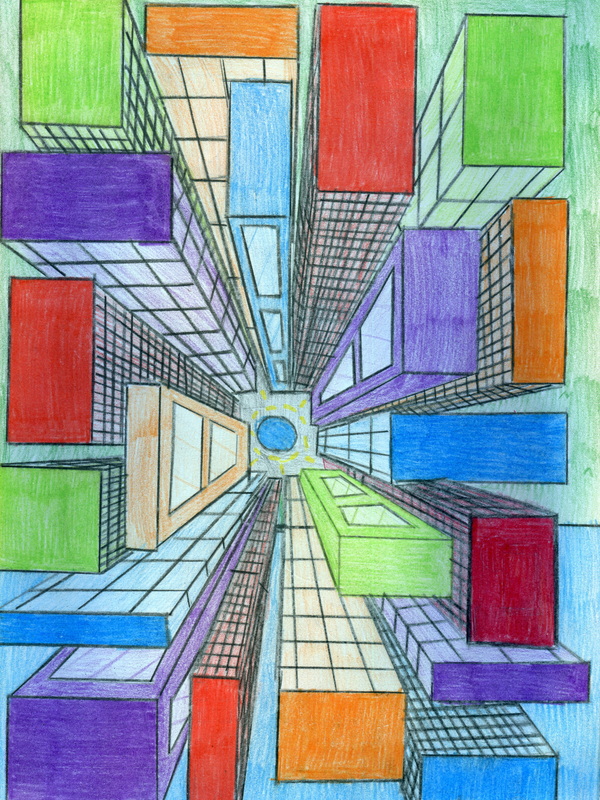
- Students will create a 1 point perspective drawing including details and embellishments.
- Students will learn to manipulate rulers, protractors, and colored pencils.
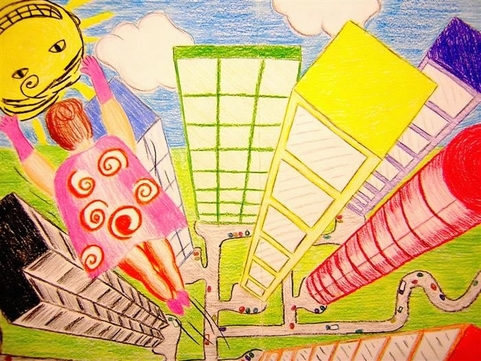
1. Show students interactive website.
2. Distribute handouts “Drawing a Birds Eye View of a City” discuss, read, and have students glue in their design books.
3. Demonstrate and have students follow step by step directions on handout.
4. Students should use colored pencils when finished.
Student Work
 |
|