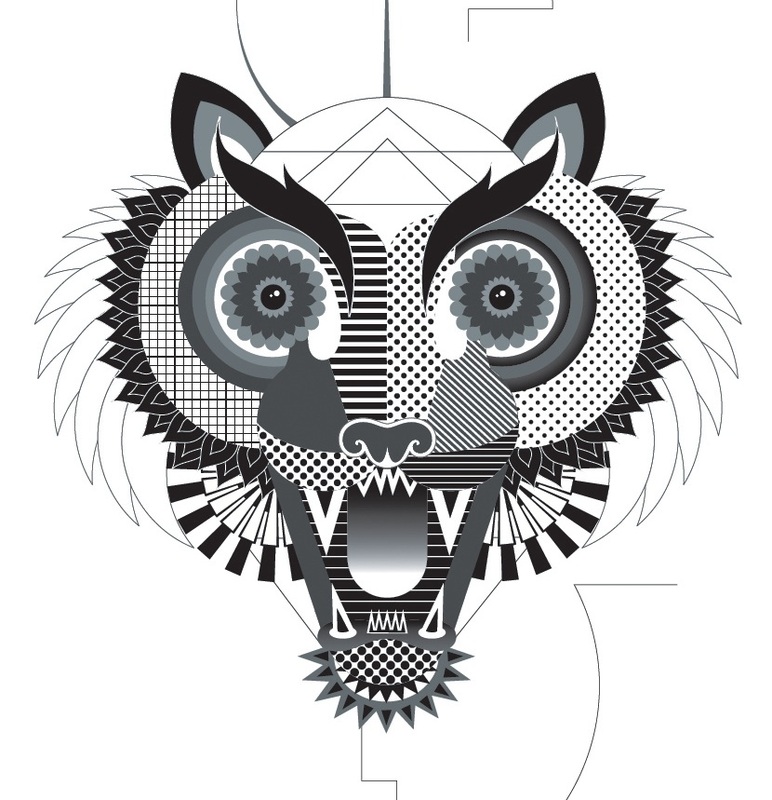
Geometric Animal Designs

1. Step One
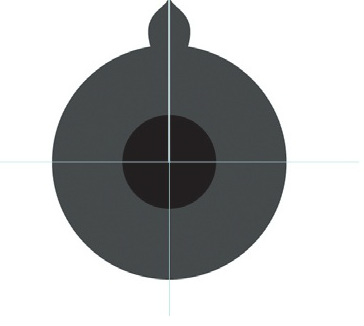
Open a new A3 Illustrator document. Draw a black circle(10mmx10mm), copy it and paste the copied circle behind the original (Ctrl/Cmd+B). Fill the back circle dark gray, then select Transform>Scale>250%.Find the centre of the circles with two guides (vertical and horizontal) and draw a leaf shape on the vertical line at
the top of the outer circle.
2. Step 2
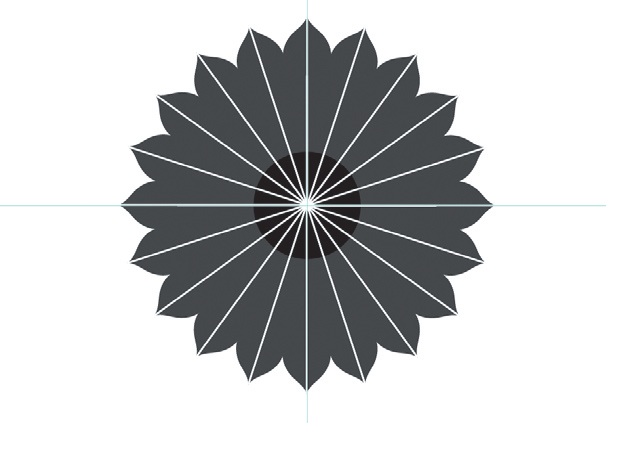
Draw a single stroke line from the top of the leaf to the centre of the circles. Select the leaf and line, group (Ctrl/Cmd+G), copy it and paste it in front. Select Transform>Rotate>18° and position the end of the stroke line at the centre of the two circles. Repeat around the circumference and remove the lines.
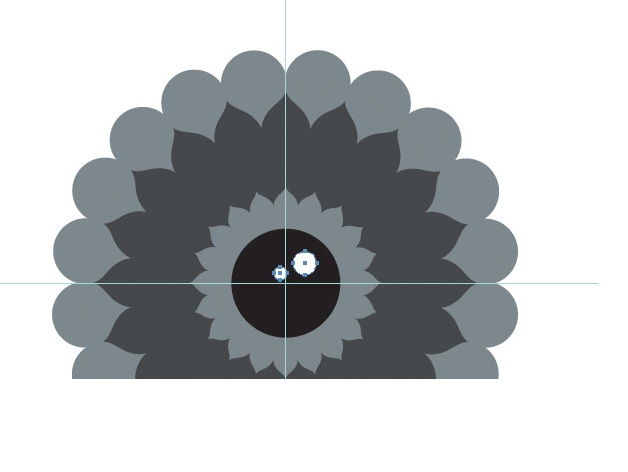
3. Step three
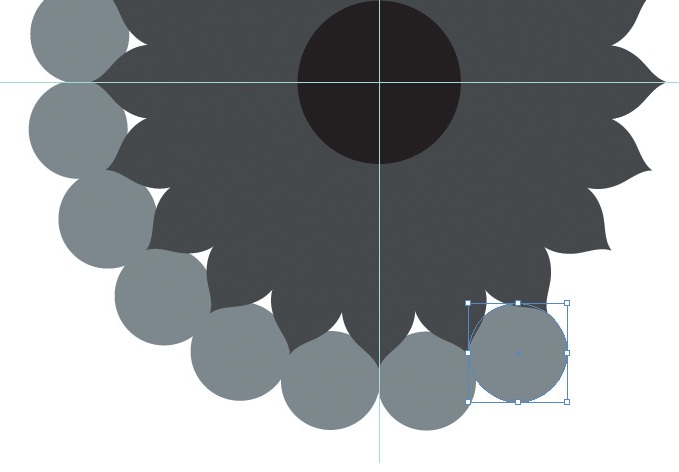
Draw a third circle and place it in between each of the leaves. Add
a largecircle of the same colour behind to fill in any white space.
Copy and paste your multiple leaves structure, selecting Transform>Scale>50%
and positioning it behind the small black circle. Add some white circles inside the black circle for detail.
|
|
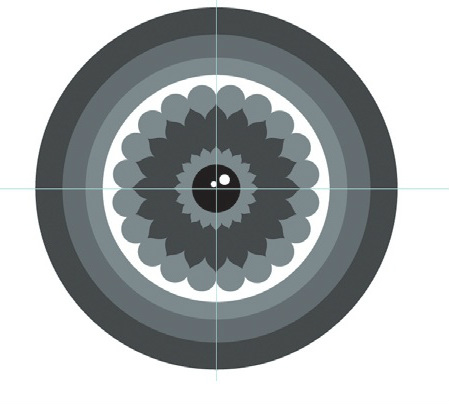
4. Step four
Copy the black circle. Paste the new version behind the original, select it and go to Transform>Scale> 470%. Fill it white, then add three more rings this way, colouring them light to dark. Draw a white teardrop shape, and use Object>Arrange>Send Backward to help position the shape on the same level as the white circle.
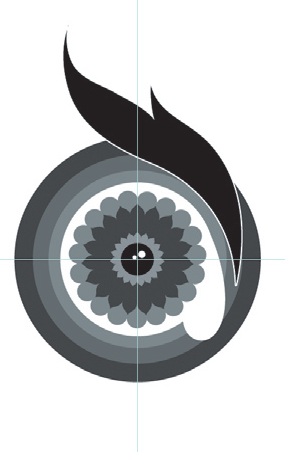
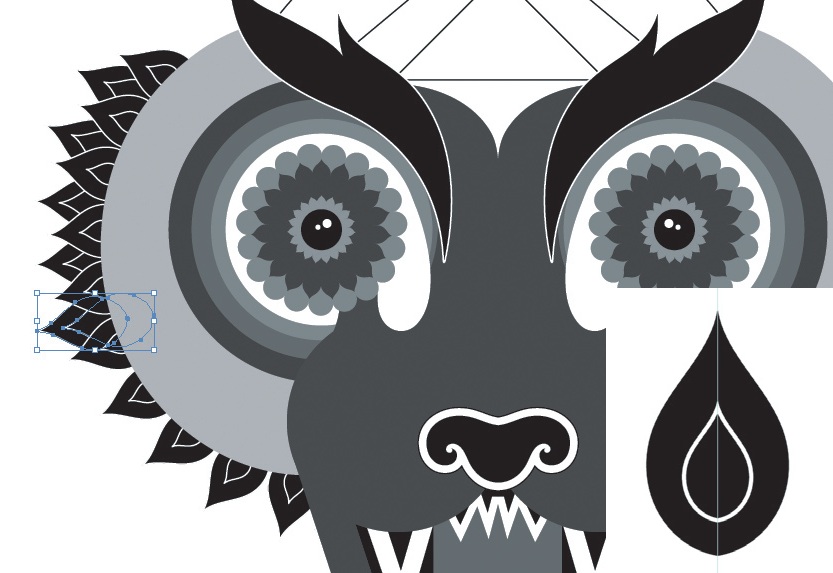
5. Step five
Now draw a black eyebrow with a white stroke line. Select the Circle tool, then draw an oval behind all the other elements. I fill this oval a light grey. With the Direct Selection tool, move some of the top anchor points so they are behind the eyebrow.
|
|
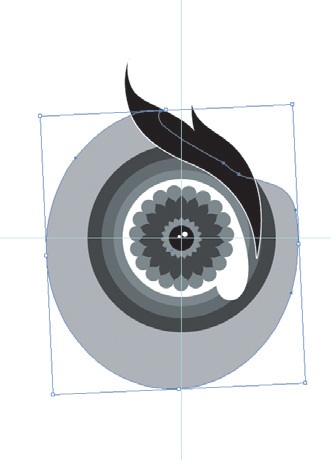
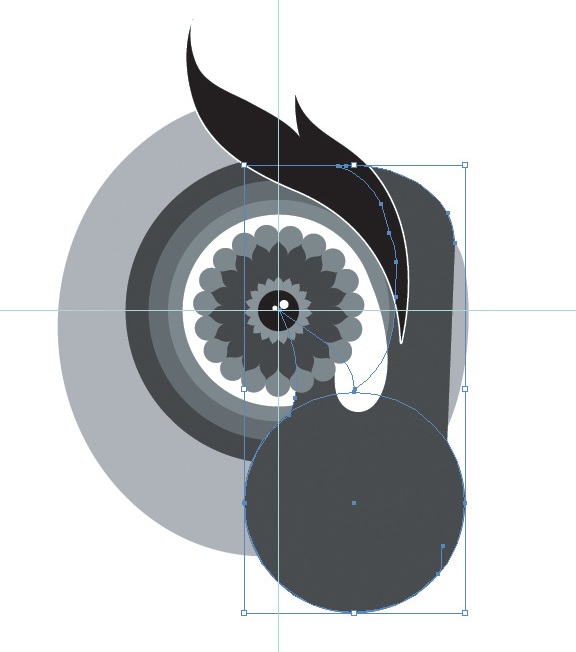
6. Step six
Draw another circle (52mmx52mm) that touches the edge of the white ring. With
the Pen tool, draw a path from this circle to the black circle, up to the eyebrow and back down to the circle again. Fill with grey. Drag a guide to mark your last line down to the circle. Select the Rectangle tool and draw a shape that will act as the jaw.
|
|
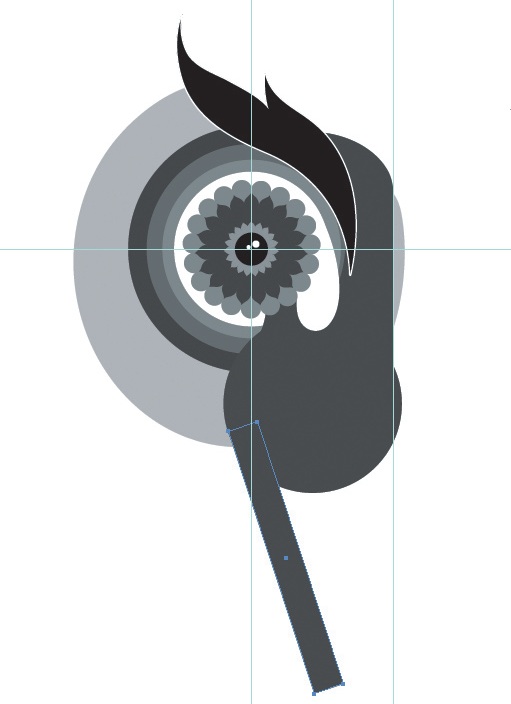
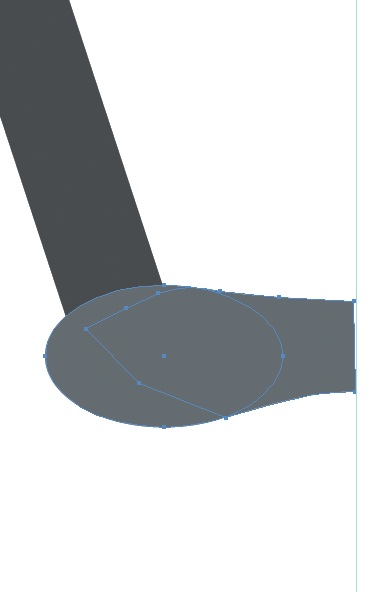
7. Step seven
Select the Circle tool, make an oval shape, then draw another shape with the Pen tool that leads from the oval to the central guide. Make another circle, place it behind these elements and, with the Scissor Tool, trim the circle down to a lower-left quarter.
|
|
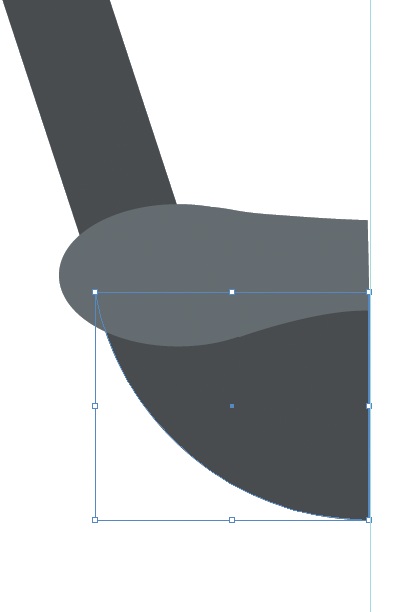
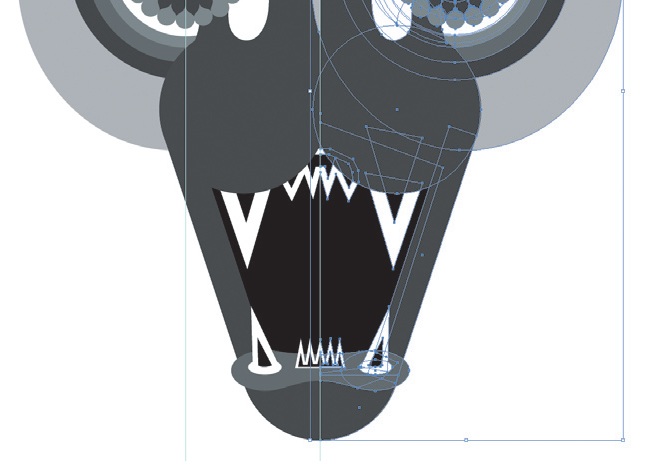
8. Step eight
With the Pen tool, draw a black fill behind the new elements and start drawing the teeth. Now select all, copy and paste in front, then go to Object>Transform>
Reflect>90° and align the new set of elements opposite using the central line as a guide. You may need to tweak some shapes.
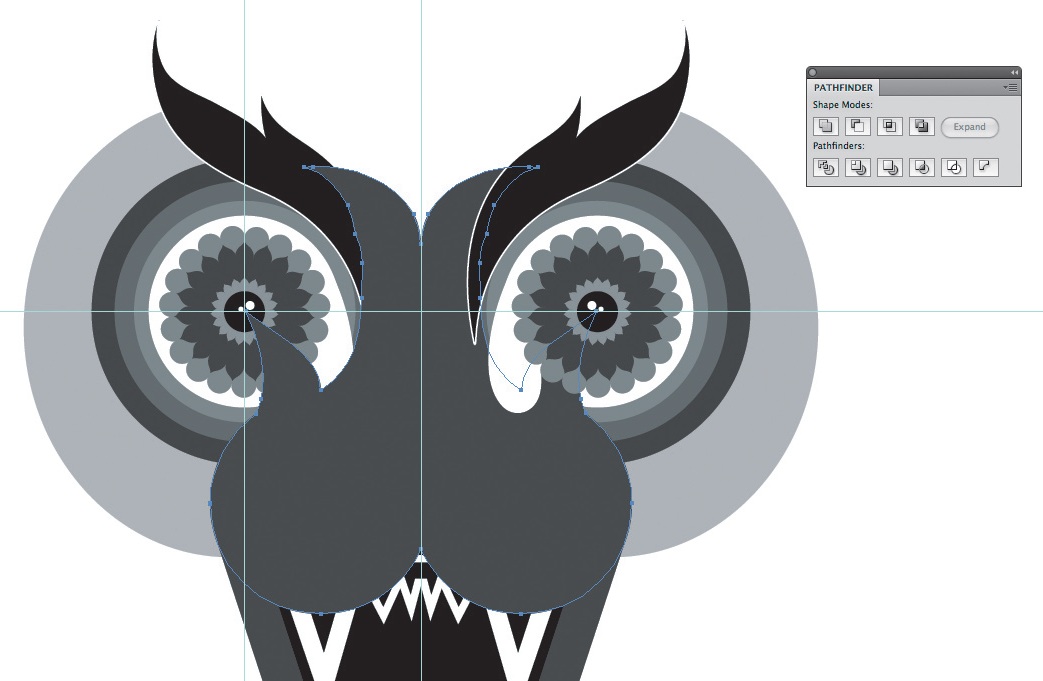
9. Step nine
Open the Pathfinder palette and start ‘adding’ (by clicking the fi rst icon along the top row of the palette) the elements that align together at the central line. You
will need to pay attention to the arrangement (Object>Arrange) of your elements once you have added them using the Pathfinder palette.
10. Step ten
Now draw a shape that resembles a tiger’s nose. When you’re happy with the shape, copy it and paste the new version in front. For this front version, select the
color in the tool bar to Stroke Only, choose Effect>Path>Offset path and set to 2mm. Hit OK. Now choose Object>Expand Appearance and add a white fill.

|
|
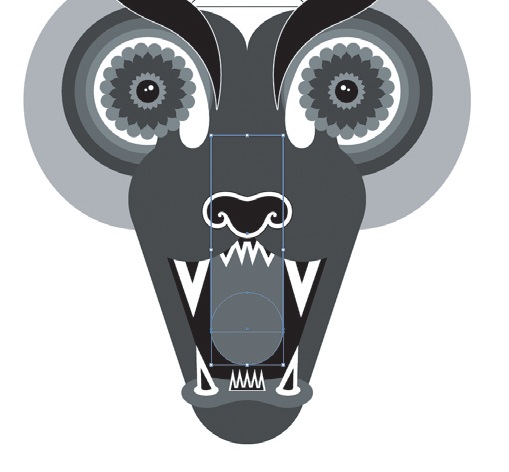
11. Step eleven
Now draw a large white circle with a black stroke line to form the scalp. Use the Rectangle tool and stroke lines to create some detail. Add a tongue by combining a rectangle and a circle and arranging this new shape in front of the black fi ll of the mouth.
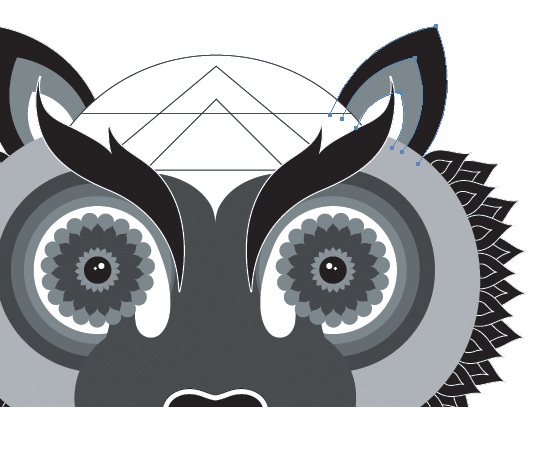
12. Step twelve
Draw a new leaf shape using the central guide to create symmetry. Set Fill to black with a white outline. Copy this and paste in front, selecting Object>Transform>Scale 40%. Place the two objects on the outer edge of the tiger’s head and follow the line around in two rows.
Add depth with gradients
You might want to try adding more depth and tone to the elements of the composition by using gradients of colour. Using both Radial and Linear fi lls, you will fi nd that you can create the illusion of 3D.
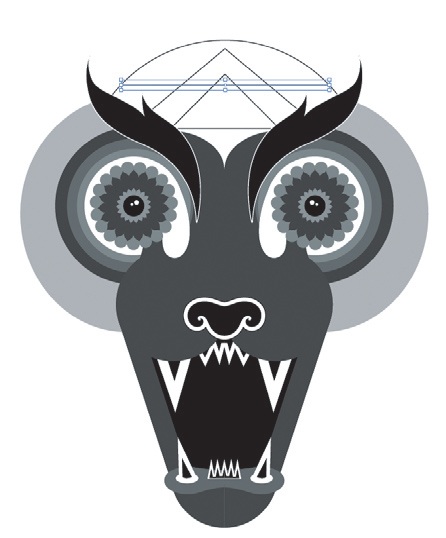
13. Step thirteen
Now group the two rows, copy and paste in front selecting Object>Transform> Reflect 90°, and position on the opposite side. Now add the ears using the same process – draw, scale, rotate, reflect, position.
14. Step fourteen
Now go to Window>Swatch Libraries>Patterns>Basic Graphics and open both the Dots and Lines swatch palettes. Experiment but be sure to add pattern to a copy of the fi lled objects, as patterns are transparent.
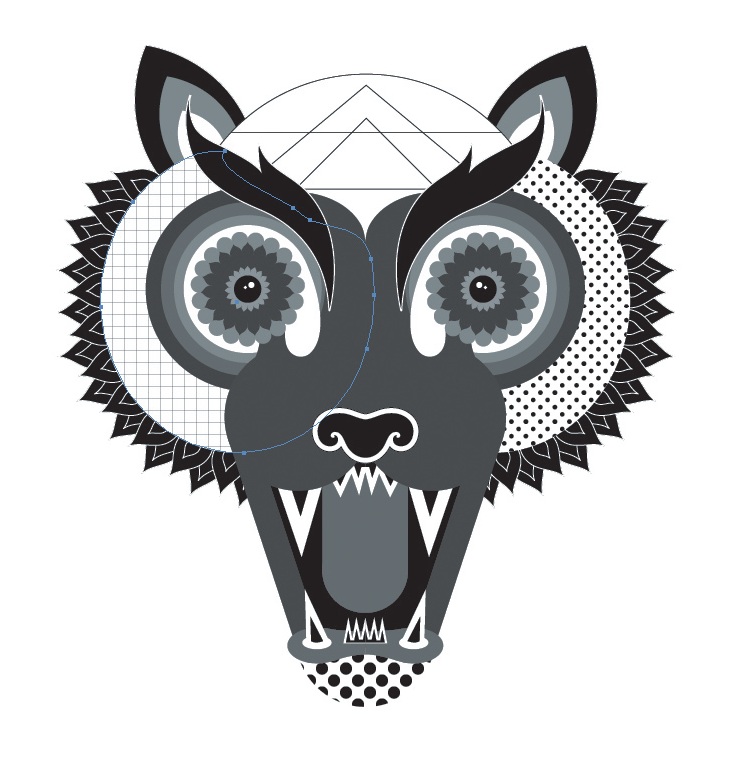
15. Step fifteen
Now make new shapes within your existing composition. Add opposing pattern structures and switch between lines and dots. You can also add more detail with the Line tool, and add more shapes. The important thing here is to get creative and experiment.