Egytian Art


 |
 |
Egyptian Art Project
State Standards:
27.B.3 Know and describe how artists and their works shape culture and increase understanding of societies, past and present.
26.A. Describe how the choices of tools/technologies and processes are used to create specific effects in the arts.
Time:7- 40 minute class periods
Objectives:
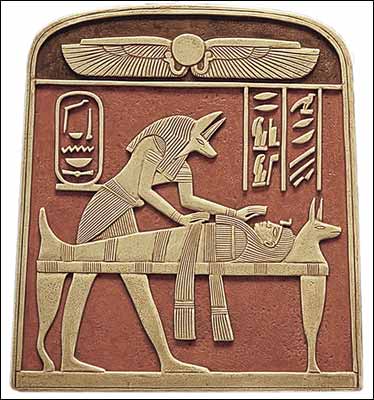
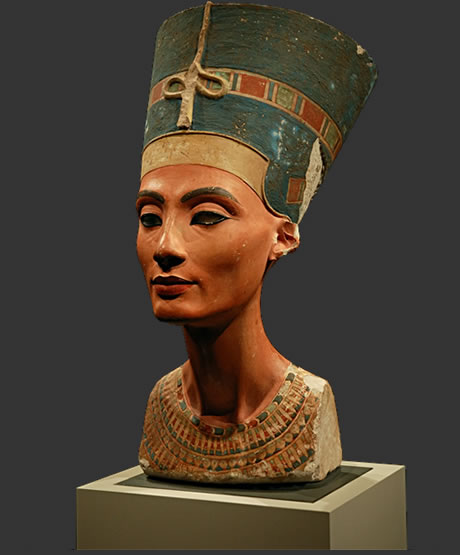
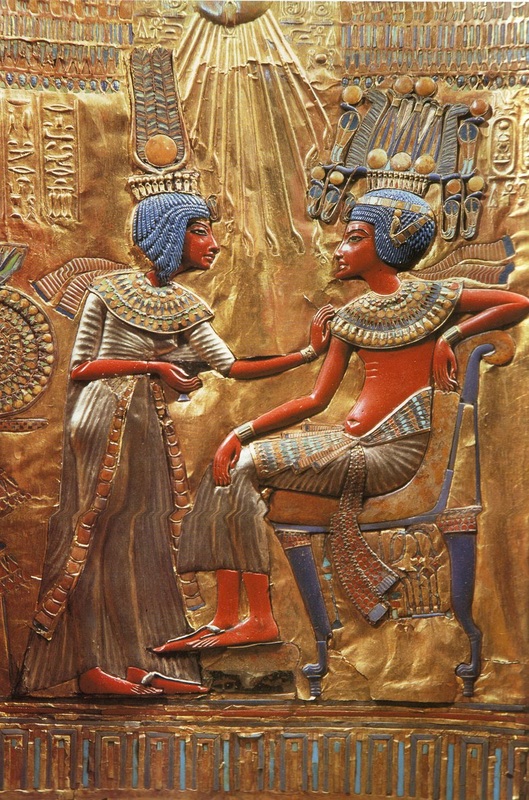
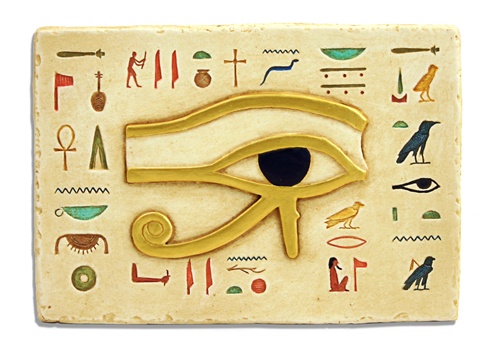
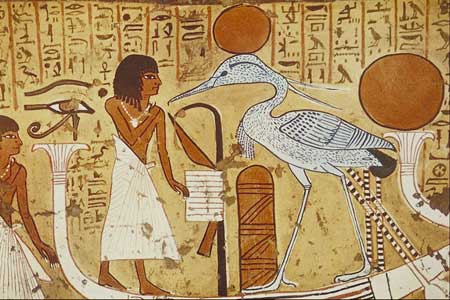
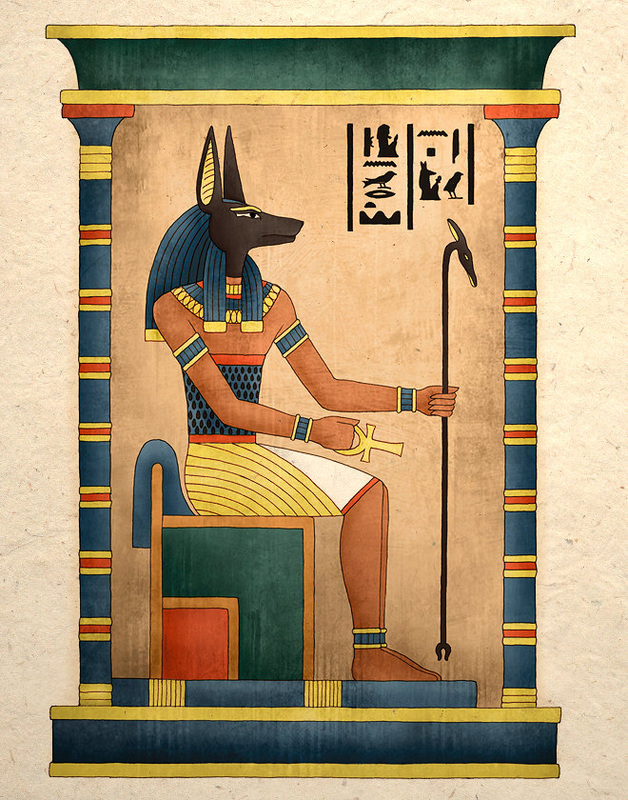
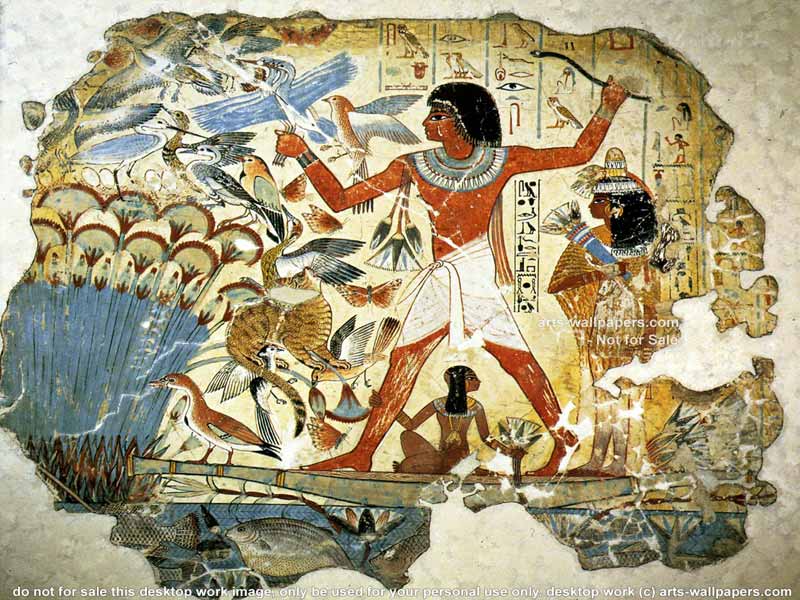
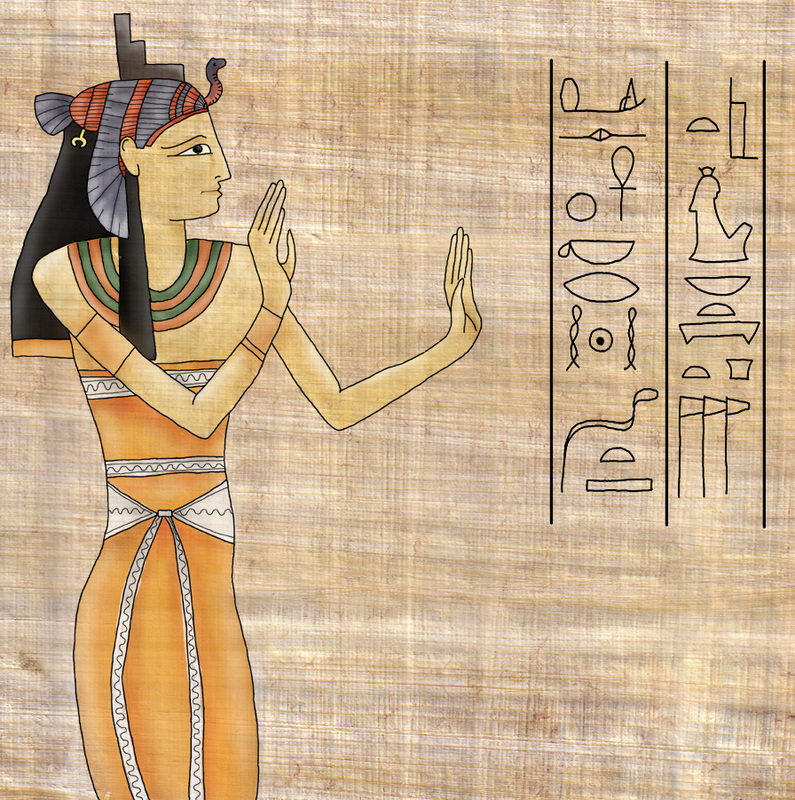
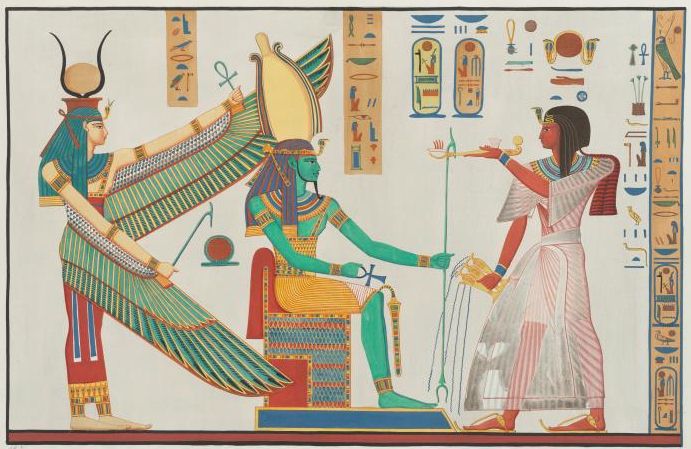
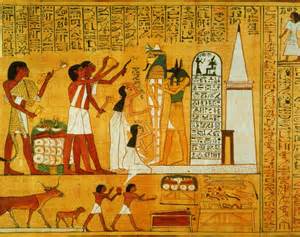
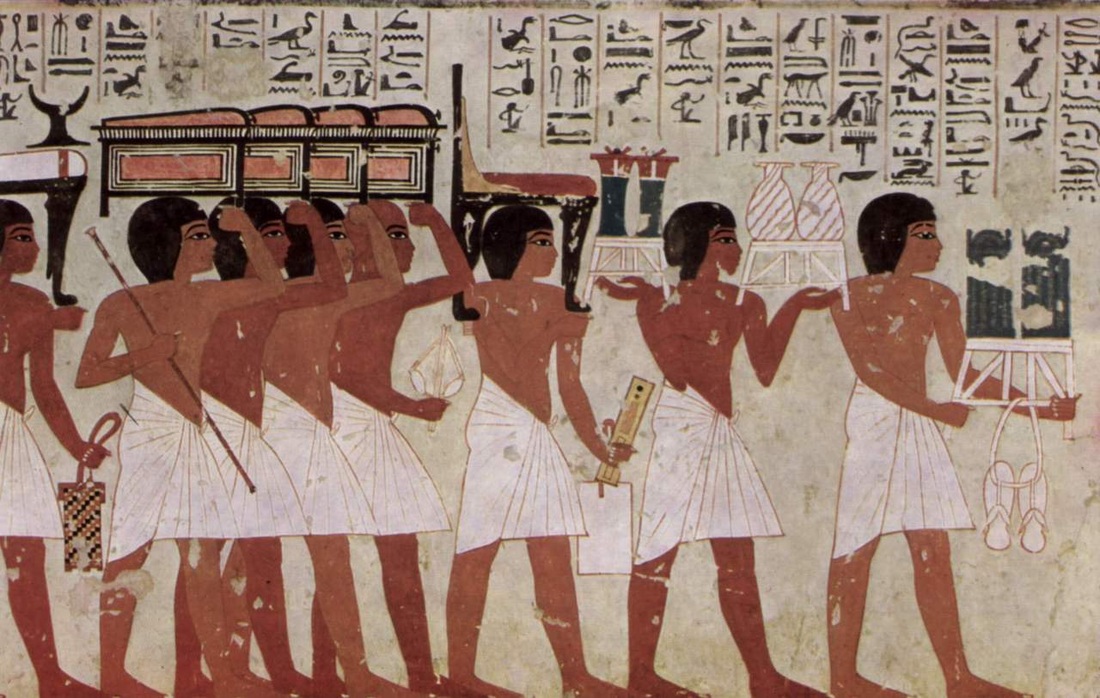
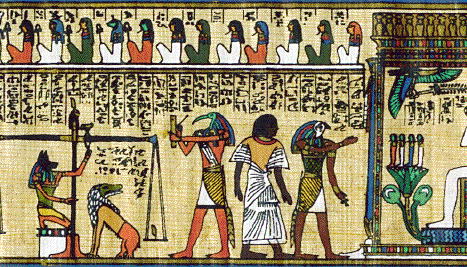
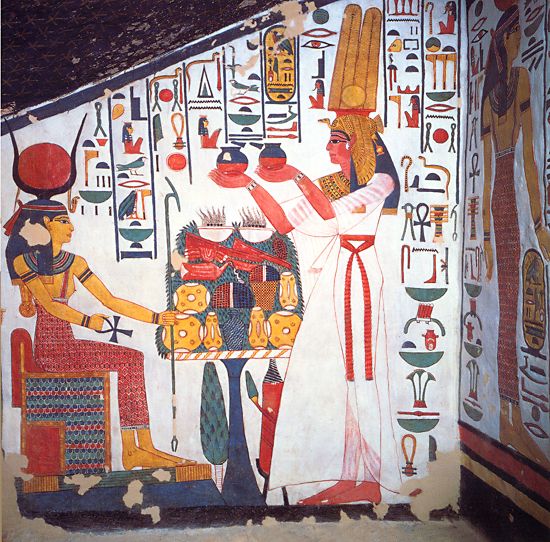
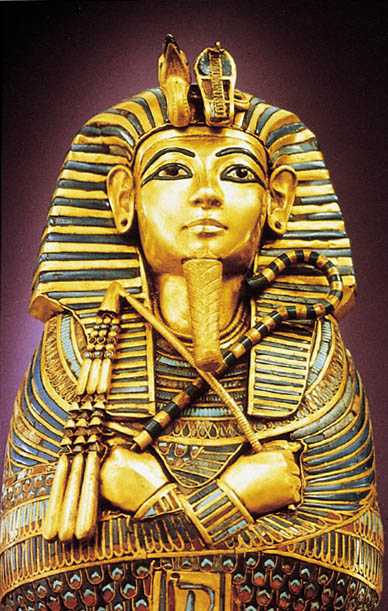
4. Students will have samples of Egyptian art, hieroglyphics, and some gods and goddesses to refer to for inspiration as they create their own designs.
5. Students will make an Egyptian sketch for their foil designs.
6. Students will transfer or redraw their design on cardboard and add a glue line. After the glue is dry they will make
a print of the glued relief.
7. Students can make several prints and use different colors.
8. After prints are made students will add foil press and then emboss Egyptian details.
9. The final step is to add ink as a patina for aging.
State Standards:
27.B.3 Know and describe how artists and their works shape culture and increase understanding of societies, past and present.
26.A. Describe how the choices of tools/technologies and processes are used to create specific effects in the arts.
Time:7- 40 minute class periods
Objectives:
- Students will learn that Egyptian art has given bits of information to increase understanding of societies, past and present.
- Students will learn the significant elements of Egyptian Art.
- Students will learn the basic Egyptian gods and goddesses and what they look like and how they can be incorporated into a design.
- Students will learn some basic Egyptian symbols and hieroglyphics for their designs
- Students will make an Egyptian drawing and preliminary sketch for their foil relief.
- Students will learn how to utilize tools and techniques to make a “glue line” print.
- Students will learn how to manipulate tools to make a “foil embossing”.
- Show video of Egyptian Art.
- Students will learn basic elements of Egyptian art.
4. Students will have samples of Egyptian art, hieroglyphics, and some gods and goddesses to refer to for inspiration as they create their own designs.
5. Students will make an Egyptian sketch for their foil designs.
6. Students will transfer or redraw their design on cardboard and add a glue line. After the glue is dry they will make
a print of the glued relief.
7. Students can make several prints and use different colors.
8. After prints are made students will add foil press and then emboss Egyptian details.
9. The final step is to add ink as a patina for aging.
